This winter, we made a decision that it was time to set a date to move into Nerdwood. We’re getting close enough to finishing that a firm date would inspire us to push, and push hard, to finish at least the basics needed to live there. Not only are we itching to live there, but since we are renting an apartment while we work on the house, actually living there will save us a big chunk o’ change every month. We had wanted to be DONE done by the time we moved in, but let’s face it, 10+ years is long enough. We can finish after we move in.
Our apartment lease runs out at the end of July this year (2017), so we told out landlord that we are not renewing. Yikes! Now it’s for real. We’ve made a list of things that absolutely must be ready by the time we move in. Stairs, the top layer of flooring on the second floor, maybe a few appliances, like a fridge, stove and washing machine. Oh, and first order of business, a real bathroom.
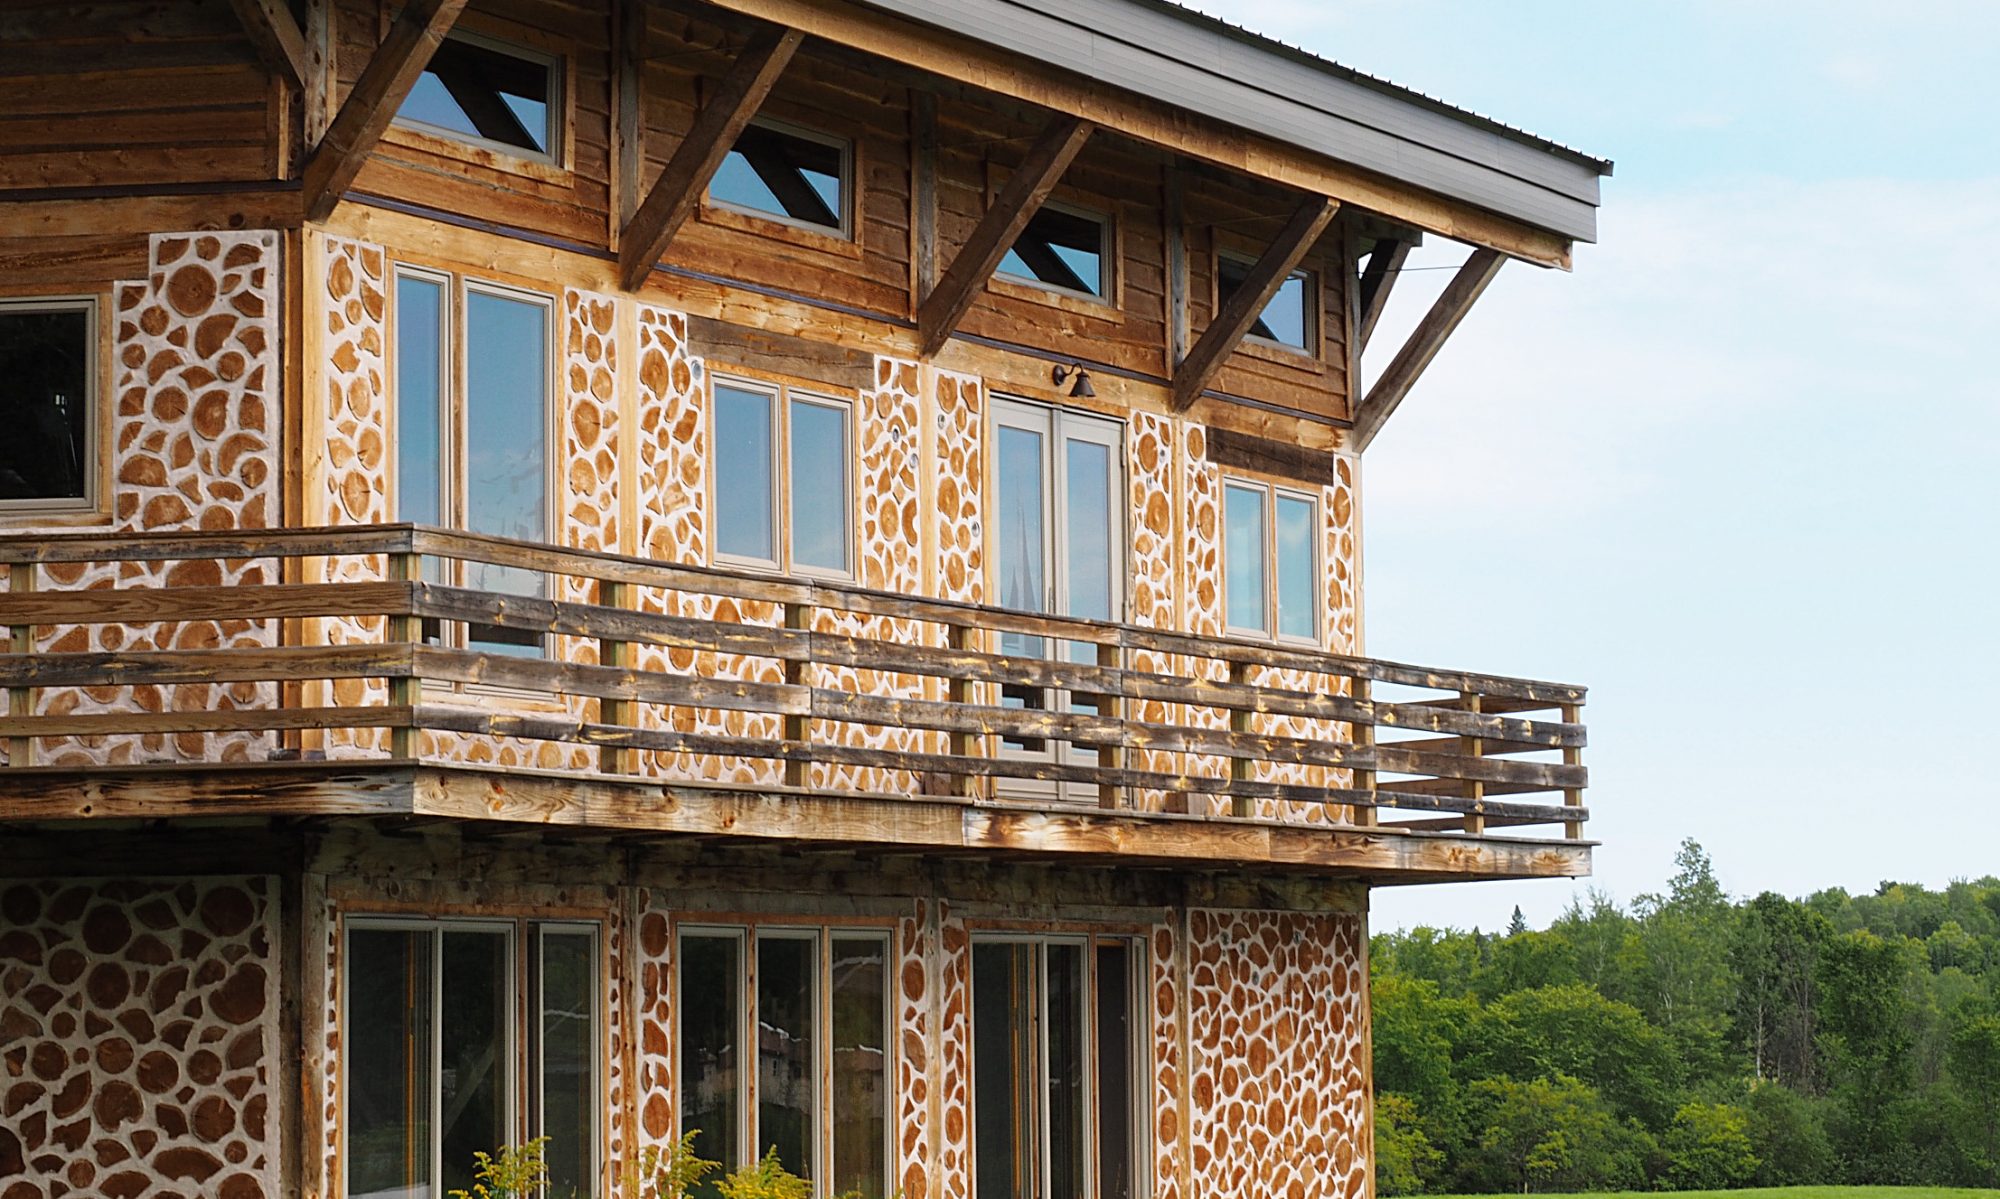
Last spring we were very eager to get started building cordwood walls on the inside of the house. As is usually the case with cordwooding, there were a million and one tasks that had to be completed before we could get going. Cordwood — is it a noun, or a verb, or an adjective, anyway?
We needed more logs! There are never enough logs! The more the merrier, and the more varied your selection, the more interesting the cordwood pattern will be. So we prepped all the logs that had been drying in the kiln all winter, and chopped up lots more on the sawbuck.
Greg hooked up an outdoor spigot so we could mix mortar and water the garden.
When those trees you ordered arrive in the mail one day, you have to put them in the ground quickly.
We also spent some time trimming out a few windows and installing screens so we could start taking advantage of the warmer weather and let the fresh air into the house. It’s always amazing how quickly everything greens up when the snow melts.
We’re plumbing the house with PEX tubing rather than traditional metal pipe. No soldering is required, just a crimping tool, so it’s a whole lot easier. Greg installed a manifold, which is sort of a switching station for all the PEX tubing in the house. Blue pipes are for cold water and red pipes are for hot.
A utility sink and then a toilet followed in short order. Our work space became a whole lot more comfortable and convenient!
Because the house is well insulated and has what the energy efficiency experts call a tight envelope, it needs a special ventilation system. The ERV, or Energy Recovery Ventilator, exchanges stuffy indoor air for fresh outdoor air without cooling down the house.
All of these not very glamorous but vital tasks were carried out during the late winter and early spring of 2011. The plumbing and electrical inspectors found everything to be satisfactory. Space in the utility room is quickly filling up!
Greg struggled to connect the water heater to the in-floor heating system so we could return the rented propane heater. He did most of this during the evening hours after work. After a series of frightening misadventures which included nearly asphyxiating himself and a late night deer/truck collision, the in-floor heating was up and running. Here you can see the water heater, water tank, and the electrical panel in the utility area:
Our next major task was to insulate the roof. The walls were nice and cozy, but the roof consisted of just decking and steel. Massive heat loss caused huge icicles to form.
We cut pieces of OSB to attach to the bottom roof joists, and the resultant sixteen inch space was to be filled with blown in cellulose insulation. Installing the OSB was especially challenging in the high-ceilinged living room area, which required some heavy lifting, and work from high atop a scaffolding. For some of this, I braced the OSB with a two-by-four while Greg wielded the nail gun.
The hardware store delivered a big load cellulose insulation, which comes in rectangular plastic-wrapped bales:
To fill each course of OSB with insulation, we rented a machine called the Krendl, which grinds up the bales of cellulose and blows it out through an enormous, unwieldy corrugated plastic hose. It’s reminiscent of something from a Terry Gilliam cartoon.
It took a while to get the hang of the temperamental Krendl. We worked on the ceiling throughout December and into January of 2011, installing rows of OSB panels, filling them with insulation, and gradually working our way to the front of the house.
“What’s he building in there?
What the hell is he building in there?” -Tom Waits
As Thanksgiving weekend, 2010 approached, we knew that two important things had to happen. We needed running water inside the house, and a way to keep the temperature consistently above freezing. This had become a matter of some urgency because a contractor was coming from Duluth with his crew to build our masonry heater.
We had purchased the masonry heater kit the previous summer at the Midwest Renewable Energy Fair (as mentioned in Greg’s previous post). After wrangling the huge heavy cement blocks up to the house, we decided it would be best to leave the actual assembly to an experienced mason. Fortunately, we had also met Eric Moshier, a contractor who had built many masonry heaters using the Temp-Cast kit, at the MWREF. He was also able to cast additional parts to add a bread oven to the unit. He was willing to come out to the Keweenaw to do the job, so we scheduled the work to be done just after Thanksgiving. We selected and ordered bricks according to Eric’s directions, and collected some beautiful river slates for the masons to incorporate into the brick facade.
We needed running water inside the house. Once we had water, we could hook up the in-floor heating. We spent the better part of Black Friday on a trip down to the nearest Big Box Home Improvement Store in Iron Mountain to purchase a hot water heater. There was just one problem: locating the water line.
Back when Frank Beauchamp poured the foundation, we had him dig a trench and lay in a pipe from near the well up through the slab and into house. So, in theory, it was just a matter of digging down about six feet or so, locating the pipe, and running a water line through it from the well head to the utility room. Greg started digging at the place that had been marked with a post four years previously. And he kept digging further and further into the cold mud. No luck. Eric’s crew arrived, and Greg still hadn’t been able to locate it. It was time to improvise.
To mix their mortar, Eric’s crew collected water from the melting snow running off the roof. Our many plastic buckets were once again put to use. Greg rented a propane heater to keep the house warm enough for the mortar to cure properly. Work on the masonry heater went quickly. They put the kit together, faced it with brick, and added some slate accents.
We were certainly impressed with the results.
The propane heater had bought us bit of time, but it was vital that we get the water running and the in-floor heating system flowing. Greg called Frank, who came out with his backhoe and dug an enormous pit until he finally located that pipe. Greg and I were able to come out after work and snake a water line through the pipe into the house, and electricity from the house out to the well head. This was all very exciting to do in the pitch dark, with snow flying, giant piles of freezing mud everywhere, and a gaping pit in the ground in front of the well. Anyone observing must have wondered what on earth was going on.
“What’s he building in there?
We have a right know.”
We’re coming into the home stretch now with the foundation. After the plumbing was inspected, we gave Frank the go-ahead (goat head!?) to continue. He poured gravel on top of the plumbing and covered it with sheets of pink styrofoam insulation. The trick here is to insulate enough to keep the concrete floor warm, but still allow some heat to bleed into the ground underneath the house to help prevent the ground from freezing, which would crack the floor. Dave Bach suggested 4″ (R20) of foam around the perimeter, and 2″ (R10) in the center.With his usual dispatch, Frank completed the job in a couple of days, pausing only when a torrential downpour hit on September 22. The next day, Clare and I started stapling pex (a type of plastic) tubing down onto the foam. The pex will be embedded in the concrete floor slab. During the winter, hot water will be pumped through the pex, giving us radiant floor heating. Every single person we have talked to who has radiant floor heat has raved about how great it is, and in our limited experience in other people’s houses, it seems really nice.
The two-by-fours in the picture are there to mark rooms – we thought it would be unnecessary to heat the pantry, and we wanted extra heat in the bathroom. The pexing went pretty quickly; we finished in a few days. When we were done, we pressurized the tubing (50 psi) to make sure it wouldn’t leak into the slab when we filled it with water. A few turns of the wrench, and it seemed to hold just fine. Now to call Frank again for the final few steps.
The next step in the process is to do the under-slab plumbing. Most of the plumbing will be above the slab and will be done after the house is closed in and the interior walls are built but not drywalled.We ran the lowest portion of the drain pipes and left stubs sticking out of what will be the slab. We then ran a black perforated pipe through the middle of the house for radon mitigation (or “Robot Mitigation” as we started calling it. I have no idea why). This may not be necessary, but it’s cheap and easy to do at this point.
We also ran a 6″ diameter pipe from the outside to where the masonry heater will be built. This provides outside air to the fire, which, along with the flue/chimney, creates a sealed combustion system which won’t depressurize the house when we light a fire. It also will prevent carbon monoxide from backing up into the house in any circumstance.
This part was pretty tricky – we had to be sure our measurements were correct, or we’ll be rearranging the walls to hide the plumbing! Also, neither of us has plumbed a house before, although I’ve done remodel plumbing. I was a bit nervous as this part required an inspection before we could continue. Fortunately, the inspector’s only beefs resulted in about 30 minutes of work fixing the issues.All told, the plumbing took about three weeks working weekends and some nights. I think Frank was starting to wonder if we would ever finish, since a master plumber would have had it knocked out in a couple of days.