Demanding Sanding

Spring/early summer of 2016, and I’ve been doing some sanding. OK, a LOT of sanding. But before I get into that, here are a few things Clare’s been up to while I kick up the dust.

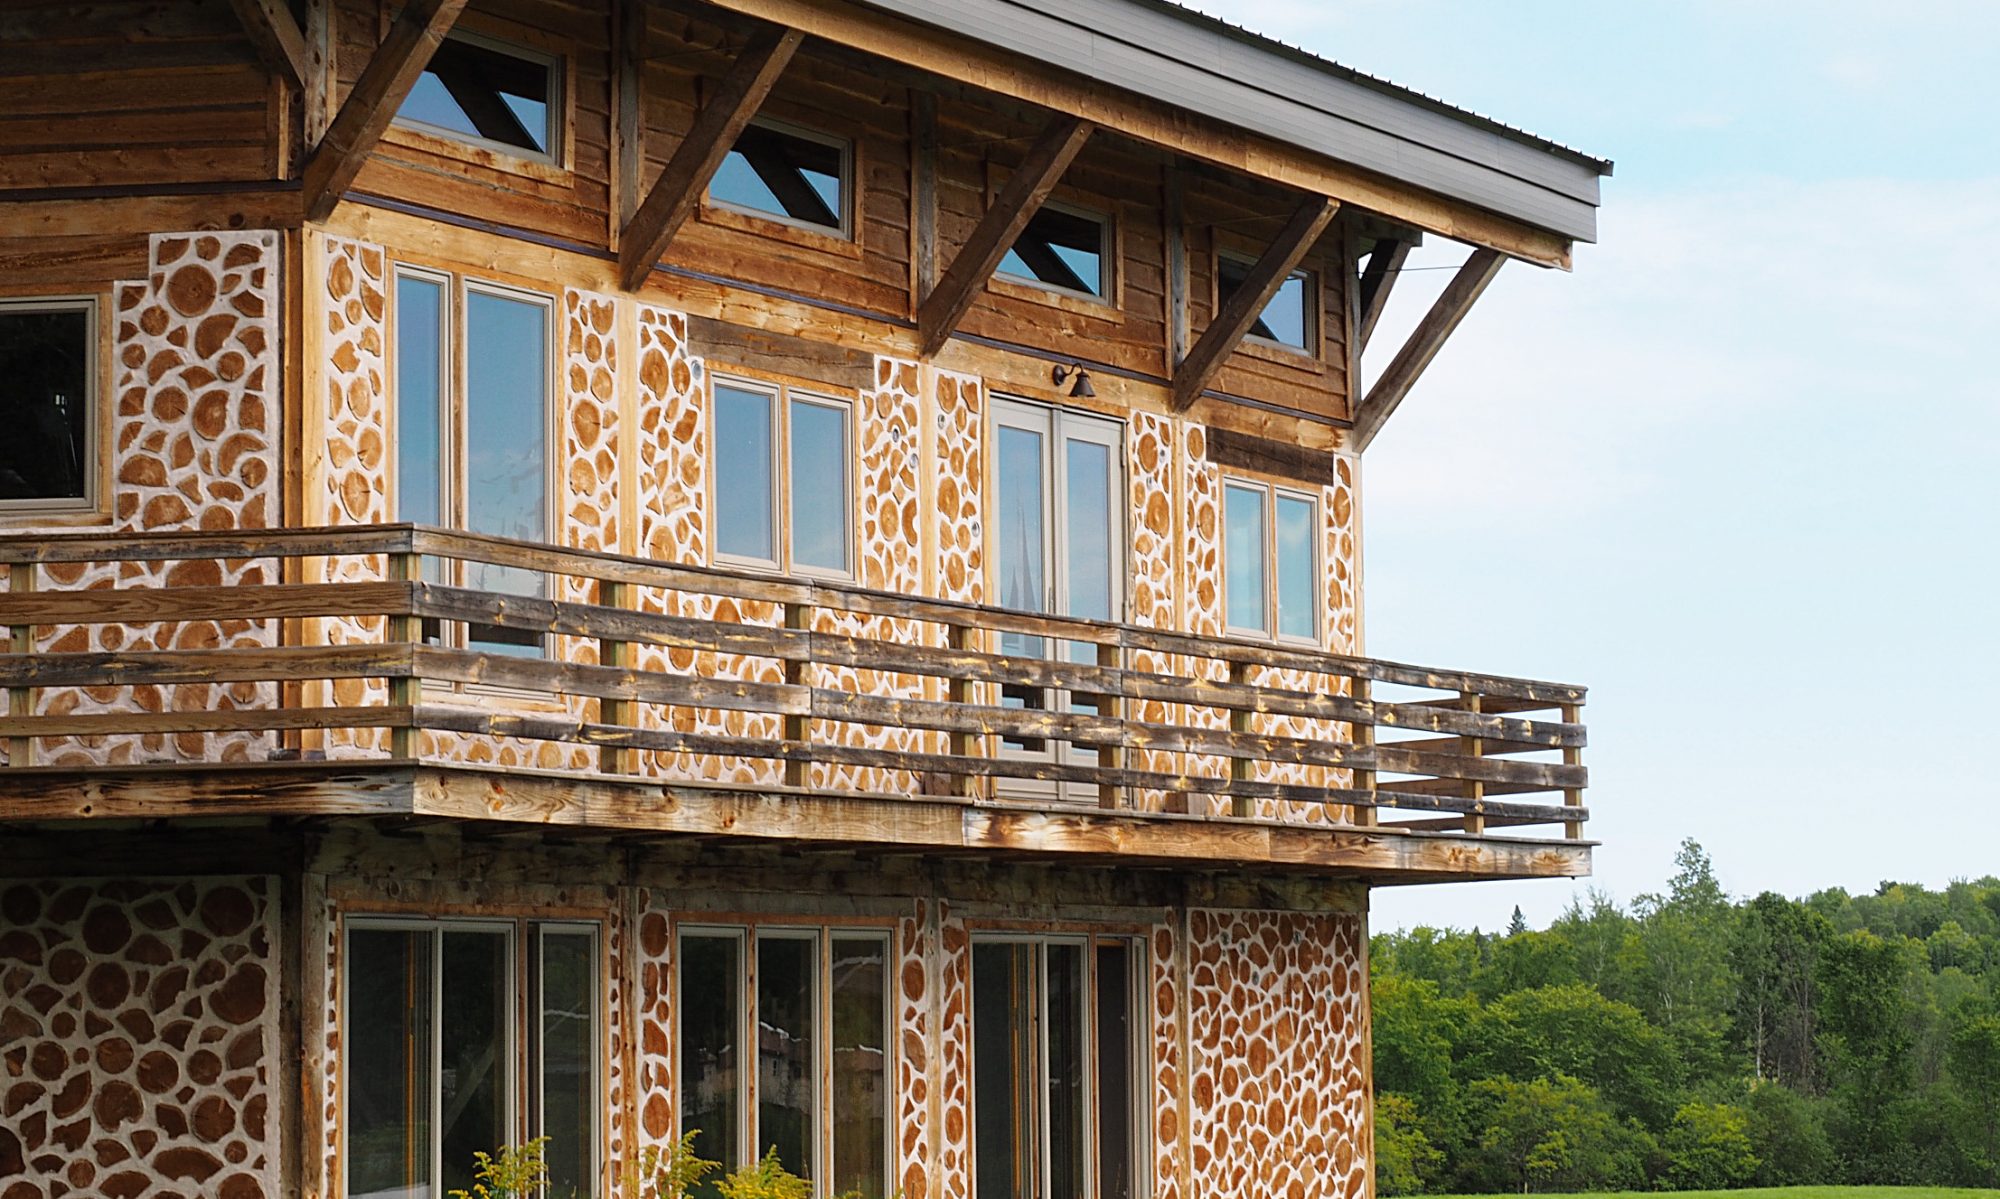
When I mentioned to Clare that I thought we should make all the duplex electrical outlets (okay, receptacles!) into quads, she took it in stride and commenced to wiring up a storm. Now, there’s no way we’ll ever run out of places to plug things in (ha!). Then she took care of some more lighting fixtures. Installing lights over the doors makes the outside look even more finished:

Continue reading “Demanding Sanding”

Lessons Learned

As work has progressed at Nerdwood, there have been times when something didn’t quite turn out right, or didn’t look or function as we expected. These missteps have resulted in having to do things over, which, considering how long this house is taking us to build, can be a bit deflating. I can’t really say I’m surprised this happens; it seems to happen to professionals as well, and we are anything but. Still, these lessons are a bit heartbreaking.

In this post, I’m going to share two instances requiring re-work that occurred this year, one a bit bigger than previous instances, and the other a whole lot bigger. Hopefully the lessons we learned will help others avoid the same mistakes.

Lesson I

The first mistake has been bugging me for nearly two years. When I put in the chimney, as noted in Wood Light/Wood Heat, I struggled with the proper way to flash the chimney. There was not a lot of information available about properly flashing a chimney coming out of a metal roof. Reluctant to cut into our lovely metal roof, I tried a silicone flashing boot designed for bolting on top of the existing roof, and I bolted a metal flashing cone on top of that for good measure.

Unfortunately, when spring came, so did the water, drip-drip-dripping from the ceiling box the chimney goes into. Not a torrent by any means, just a small drip every time there was a decent rain. Argh! Clearly, I would have to figure out a way to lap the metal roofing over the flashing, just like you would with a shingle roof.

With the many tasks last year, I just didn’t find the time to take care of the chimney issue. Finally, this past July, I got up on the roof to see what was going on. In the last post, I mentioned the crazy hard winter we, and much of the country, experienced this past year. When I got up top, I saw that the cricket (snow diverter) I had built was woefully inadequate:
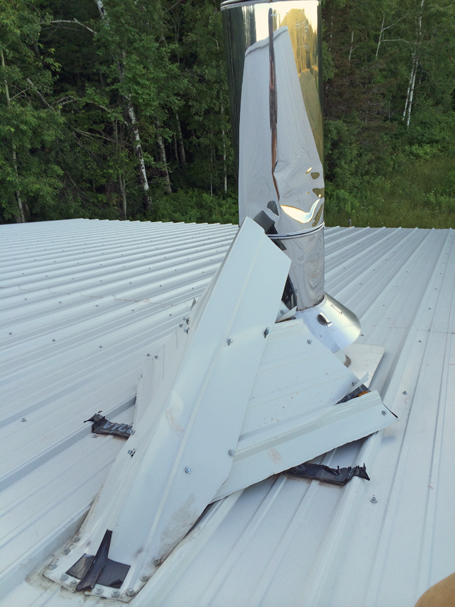
Chirp no more, lil' cricket

It did it’s best, but clearly we need a much taller cricket to protect the full height of the chimney, and avoid this happening again:
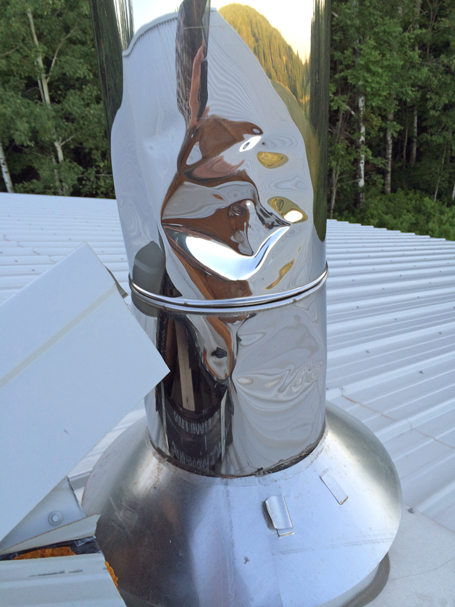
No-Fun-House mirror

So, first things first, I had to stop the dripping; we could worry about putting up a new diverter later. First, we purchased another sheet of the same roofing we used originally. Good thing it’s still made! Then, I spent an afternoon with thin cardboard and a pair of scissors, figuring out how to cut and overlap everything so the water would decide to run down the roof instead of into the chimney box. You can’t fight water, but you can persuade it. Another day on the roof with the new sheet of roofing and a bucket o’ tools, and the job was done. Interesting to see how the color of the existing roof has changed over six years.
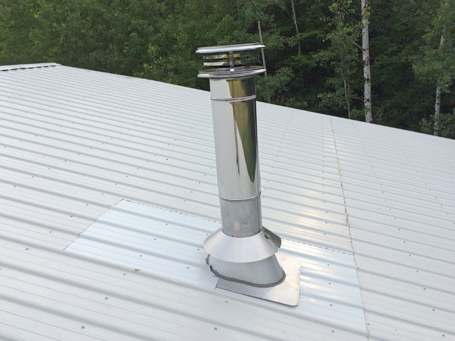
Sat in your lap

As I write this in October, there has been nary a drop in the house since July, so I believe this did the trick. I also noticed that when I removed the old roofing panel, much to my relief, the decking underneath was in good shape. Not enough water had gotten in to rot out any of the framing or decking. We still need to get that cricket installed before the snow flies.

Lesson II

A week or so after fixing the chimney, we were heading out of town so I could have surgery done on my bum foot. On the way out, we stopped at Nerdwood to have a look at things. When I went inside, I admired our new ceiling, as I had done every time over the past few weeks. As you walk in, you see the living room ceiling first, and today it looked great as always. When I looked at the second-floor ceiling, nothing unusual registered at first. Then a feeling of… wrongness came over me.

I suddenly had a disorienting feeling of being in a dream. I realized I was looking at OSB sheeting on the ceiling, as I had been for the previous three years. As in a dream, I knew that the ceiling was done, but what I saw said that it wasn’t. I fought the cognitive dissonance as I ascended the ladder. Something terrible had happened.

When we put up the ceiling, we used a brad nailer, shooting 18-ga. brads through the tongue of the paneling, into the OSB sheeting. Where there were roof rafters behind the OSB, I made sure to put a brad as well, so it would go through the OSB and into the rafter. The paneling was very tight against the OSB with this method, and it seemed like nothing could dislodge it. I was very wrong about that. The last course, at the apex of the ceiling in the front of the house, had come loose, and row by row, the paneling simply peeled off the OSB like a roll-top desk. About two-thirds of the way down the second-floor portion of the ceiling, several temporary braces had stopped the peeling of the ceiling, leaving one-third left and the rest of the paneling in a jumbled heap on the second floor.
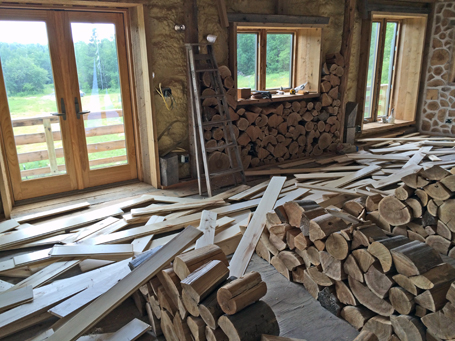
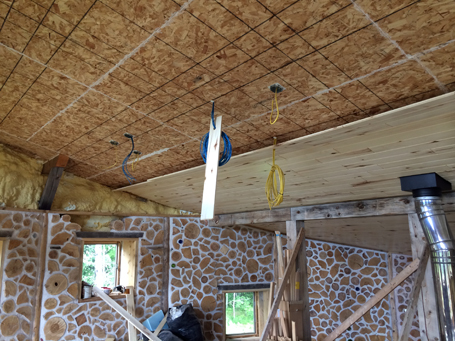
The least it could have done was fall neatly...

Hang in there, Boardy!

That was weeks worth of work, undone in what probably took a few seconds. What’s even worse, we ordered the paneling pre-finished, and many of the fallen boards have unsightly gouges, dents and scrapes on them. They all have useless brads sticking out of them, which will have to be removed in order to re-use the good ones.
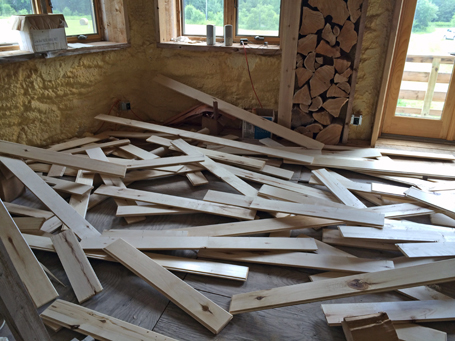
Pictures of Matchstick Men

Argh! I did not know that I should have secured the last, highest row by driving proper screws into the boards, through the OSB and into the roof rafters. I knew this coming winter we would be framing above the cordwood, and this framing would secure the top row of paneling into the ceiling, but I also knew the brads would surely hold until then. Well, you can quit calling me Shirley.

One thing that made this less bad than it could have been was that it was the second-floor ceiling that came down, rather than the living room ceiling. Although it’s bigger in area, it was much easier to put up due to the lower ceiling height and the lack of large beams in the way of the scaffolding.

We delayed our trip for an hour or so while I secured what was left of the second-floor ceiling using screws, then secured the top row of the living room ceiling using screws as well. I am not looking forward to de-nailing, sorting and re-installing those boards.

This guy was mightily amused by the drama:
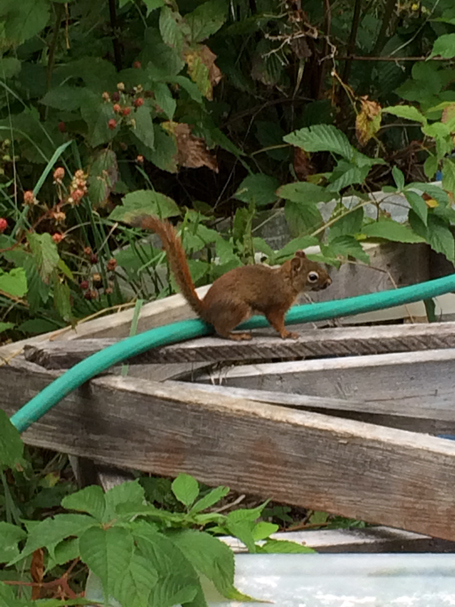
Laugh it up, Red

In Which We Drop Some Cordwood Science

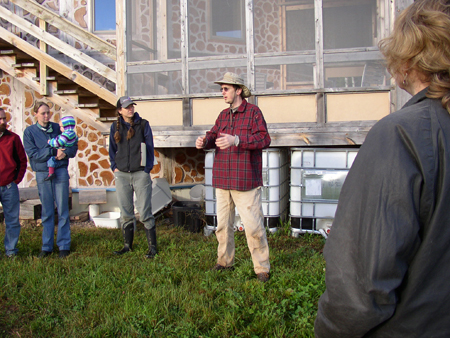
Our cordwood construction workshop on September 21 was quite a success. Matt’s promotional skills drew in seven intrepid participants who made the journey out to Nerdwood to try their hands at mortaring up a few logs. They were a great group of people; all already had done a fair amount of research on cordwood and all had very interesting and varied backgrounds. They asked a lot of intelligent questions and worked hard. I hope they had half as much fun participating as we had hosting.

We started out with Matt giving an introduction, and on to Greg giving a talk about the house and our progress so far.

Greg and his invisible hoagie.

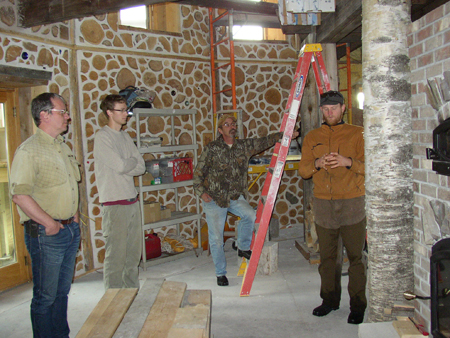
And then on to a tour of the interior of the house and some discussion of the masonry heater and some of the other features.

Matt's invisible cupcake.

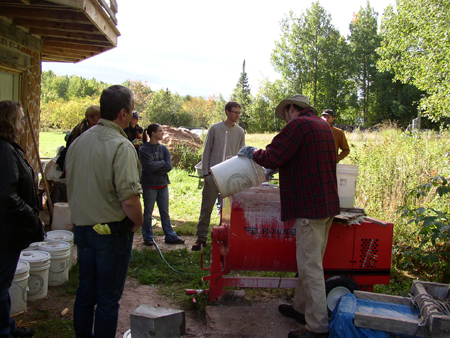
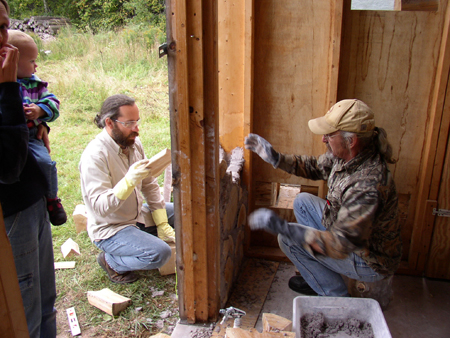
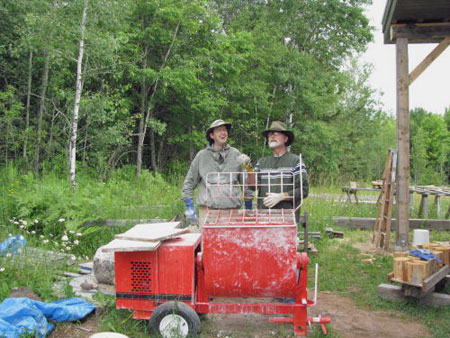
Greg gave a spiel about lime putty mortar and demonstrated mixing up a batch in the mixer.

Sand + lime putty = progress.

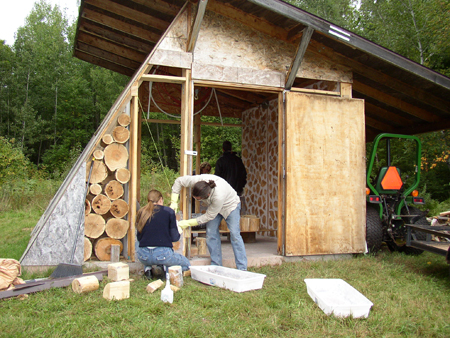
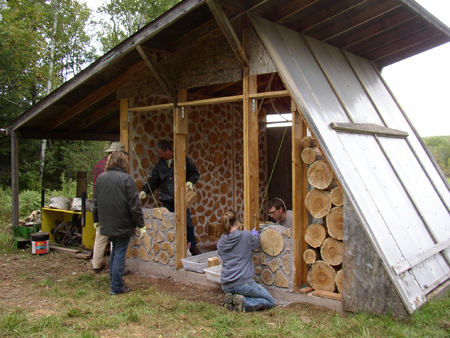
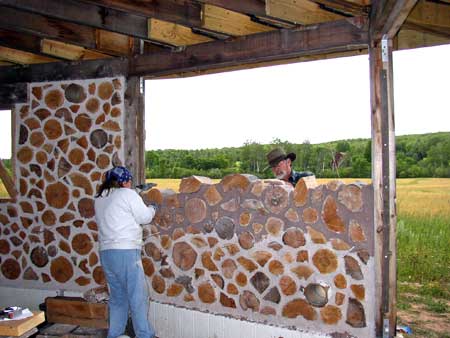
We were then all set for the main event: building some cordwood walls. Off to the garden shed. I gave a brief demonstration of getting a wall started, and everyone quickly got down to business.

The front of the shed.

Rockin' that front panel.

The back of the shed.

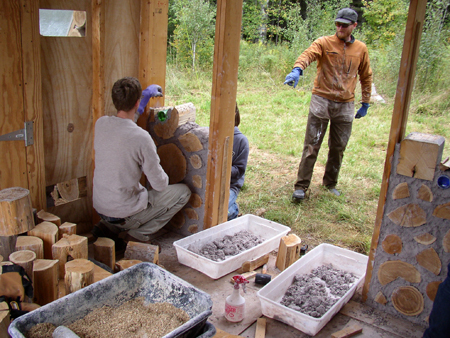
Matt likes what he sees.

As you can see, these folks were naturals. By the end of the session, we had three panels halfway done. I did a little pointing demo and we wrapped up the workshop. Greg and I are looking forward to seeing some of the new cordwood projects our workshoppers are planning!

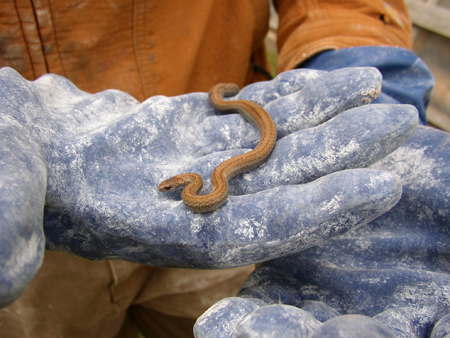
This visitor to the workshop had to be sent on his way back to the woods. Someone identified him as a Copper-bellied Snake (Nerodia erythrogaster neglecta), but after a bit of research it turns out that he was in fact a Red-bellied Snake (Storeria occipitomaculata occipitomaculata).

Sorry to disturb you, Storeria occipitomaculata occipitomaculata.

The ‘Monsters of Cordwood’ 2009 tour

This summer we had several distinguished guests visit Nerdwood. Richard and Becky Flatau built a lovely cordwood house in northern Wisconsin in 1979 and have lived there since. They’ve done a great deal to promote this style of building, including publishing how-to books, conducting workshops and hosting the 2005 Continental Cordwood Conference (CoCoCo). Clare and I met them at a cordwood workshop held immediately after the CoCoCo – one week after we closed the sale on the property where Nerdwood now sits. They hosted a party for workshop attendees at their (very cool) house, which was most inspiring for us would-be cordwood masons, and they proved to be gracious and entertaining hosts.

Richard had emailed me saying that he and Becky were conducting a workshop this August. The folks building this particular house were using lime putty mortar (LPM), same as us, and the Flataus, who have mostly used traditional portland cement-based mortar mixes, were trying to get as much hands-on experience with LPM as they could. They asked if they could stop by for a weekend and build walls with us. Naturally, we were delighted – not only would we be enjoying their company, we’d be getting help building the house and expert advice from true cordwood veterans.

The Flataus would be staying at the house of another cordwood legend, Wayne Higgins. Wayne finished his cordwood house, Stonewood, in 1991 (although he’ll tell you he isn’t quite finished yet!) and it’s one of the first cordwood houses we ever saw. Wayne (who is also a talented sculptor, painter and illustrator) is very involved in the cordwood ‘scene’ here in the Copper Country; when we signed up for the CoCoCo in late 2004, he called us out of the blue to invite us over to see his house since we were interested in the subject. Wotta guy!

The Flataus showed up Friday evening and we went to visit both them and the Higginses. Much merriment ensued, as did much learning. For example, I learned that one should never offer Wayne a trip to Graceland, even all-expenses-paid, or offer to put on some Elvis. I’d imagine Gary Numan is right out, too. Saturday morning, we met the Flataus at the jobsite. After Clare and I explained our methods of creating LPM, Becky caught a pic of us mixing the first batch. That’s Richard on the right:

The latest in Men's Cordwood Hat fashions

Lime putty mortar requires advance preparation, since you mix up lime putty (lime and water), let it sit for awhile (current conventional wisdom is at least three days, but I’ve found a minimum of five days to be much more workable) then mix the putty with sand to produce the mortar. The putty I had prepared for the Flatau’s visit was experimental for me – I had seen that some people were mixing a bit of dish soap into the putty to help it retain moisture better, thus reducing cracking when the wall cures. I tried it with this batch of putty, but misread the ratios and added about ten times the recommended amount of soap. Whoops!

The first batch we mixed with the overly soapy stuff had a really weird texture, much too soft and pillowy. It laid up OK, but wasn’t as easy to work with as the non-soap mix. Fortunately, I also had some of the non-soap putty as well, so we were able to blend the two to get a decent-feeling mixture. Soon, the Flataus were cordwooding like a runaway train. A train that lays up walls. And shows you helpful tips. And jokes and puns with you. Y’know, that kind of runaway train.

Nerdwood slowly gets woodier

Above, Target: Utility Wall. Below, Target Engaged.

Whoo! Look at 'em go!

And, from the inside,

But Richard, you're already on the other side!

Saturday afternoon, we got a visit from Wayne Higgins, his first visit here. We were pretty excited to have him over, since it’s quite a jaunt from Stonewood to Nerdwood. He invited us along on a visit to George and Paulette Beveridge’s cordwood house, which we had visited a few years ago (when George cut the birch logs that now hold up our second floor). They’ve made quite a bit of progress; their house is amazing and unique – truly a work of art. Richard took some great pictures and posted them here.

Richard and Becky stayed till Sunday then rode the happy trails back to Cheese-land. We certainly enjoyed their company and their help, as well as them giving us an excuse to visit some friends we hadn’t seen in awhile. Of course, I’m forgetting to mention the third Flatau. They said they would be bringing Summer with them, which I wasn’t too happy about since I was really enjoying the cool weather so far this year. In fact, here’s Summer, all tuckered out after a weekend laying logs:

These are the log days of Summer

I’m gonna raise the roof, I’m gonna carry on

give me an old trombone, give me an old baton…

Nerdwood welcomes you

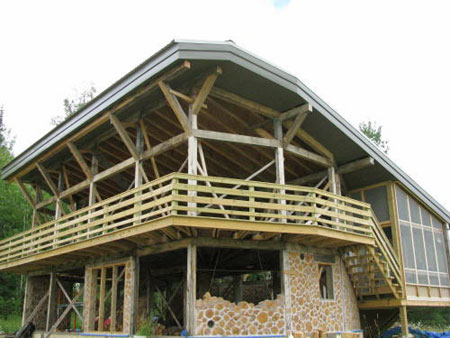
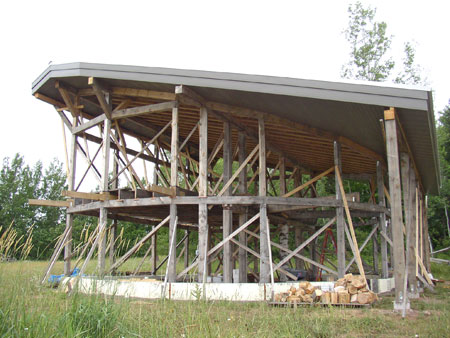
We’re building most of this house ourselves; just the two of us with lots of advice and the occasional helping hand. We are contracting out a few steps, though, one of which is the roof. Not only is it a bit too high for us, it would take forever for two inexperienced people to do what needed to be done. John Hamilton and his crew of merry men finished the roof on July 17, 2008. It took them just under a week and a half; here’s how it all came down. First, they put up the rafters:

They'd make a heck of a raft

Those are sixteen-inch high I-joists, which are made from scrap wood (just like OSB sheathing) and can be made to order to surprisingly long lengths. Ours were forty-four feet long; the crew cut them down to just under forty feet for the main part of the roof and used the rest for the overhang in front. Next up was to put up the decking and fascia boards:

Bloody fascias!

They actually laid down a layer of decking, then ran two-by-fours above the joists and laid a second layer of decking on top of that. This allows us to fill the entire sixteen-inch cavity above the ceiling with insulation, and the space between the two layers of decking will provide ventilation to keep the roof cool in summer and prevent ice forming in the winter.

After the decking, they put up felt paper and the metal roofing panels. We went with a white roof, which will help keep the house cooler in the summer. As you can see from the first photo, the top of the roof itself is not really visible due to the shape. This is true from almost every vantage point. Here’s a vantage point I’m unlikely to “enjoy” on a regular basis:

This is the highest I've been yet!

This is standing on the peak of the roof looking down across the front overhang.

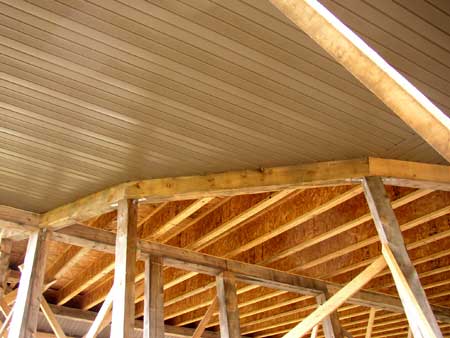
The final bits were the soffit (the underside of the roof) and the fascia covering (sides of the roof). The soffit was a bit tricky for the crew since they had to wrap it around the many angles of the post-and-beam structure.

No critters getting in here!

The crew said it was the largest soffit they had ever built; this was due to the large areas of overhang in the back since it’s a square roof over a semicircular building. Finally, they brought it all together by finishing the fascia and related trim:

Go ahead. Rain all you want.

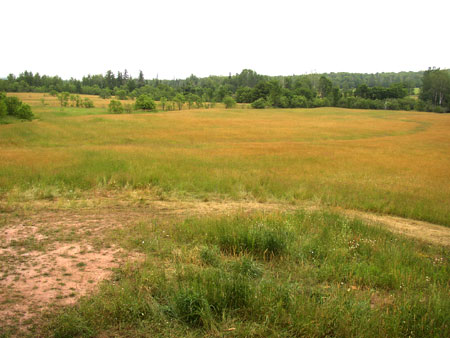
Whew! Now the frame will stay dry and we can work under cover from the sun and rain. We have a few more details to build before we start cordwooding, but these should only take a week or so. Here’s a gratuitous vantage point looking northeast from the house:

That's what I love to see

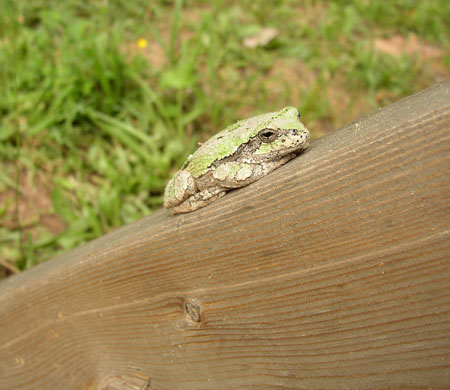
And a visitor to the house:

Please eat some bugs, fella!