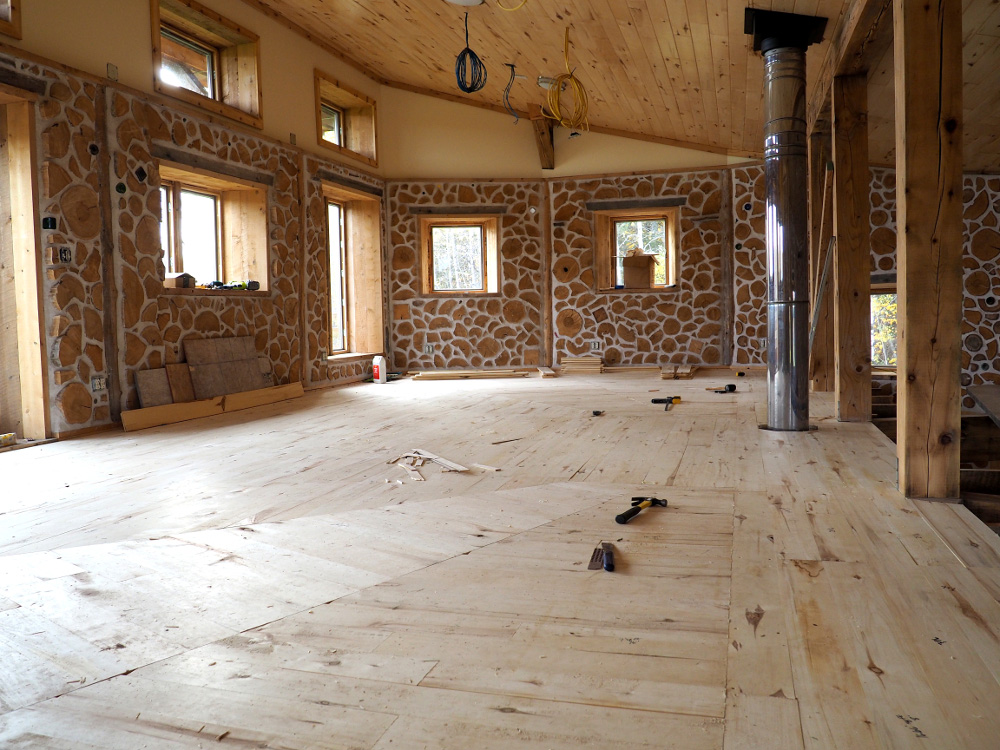
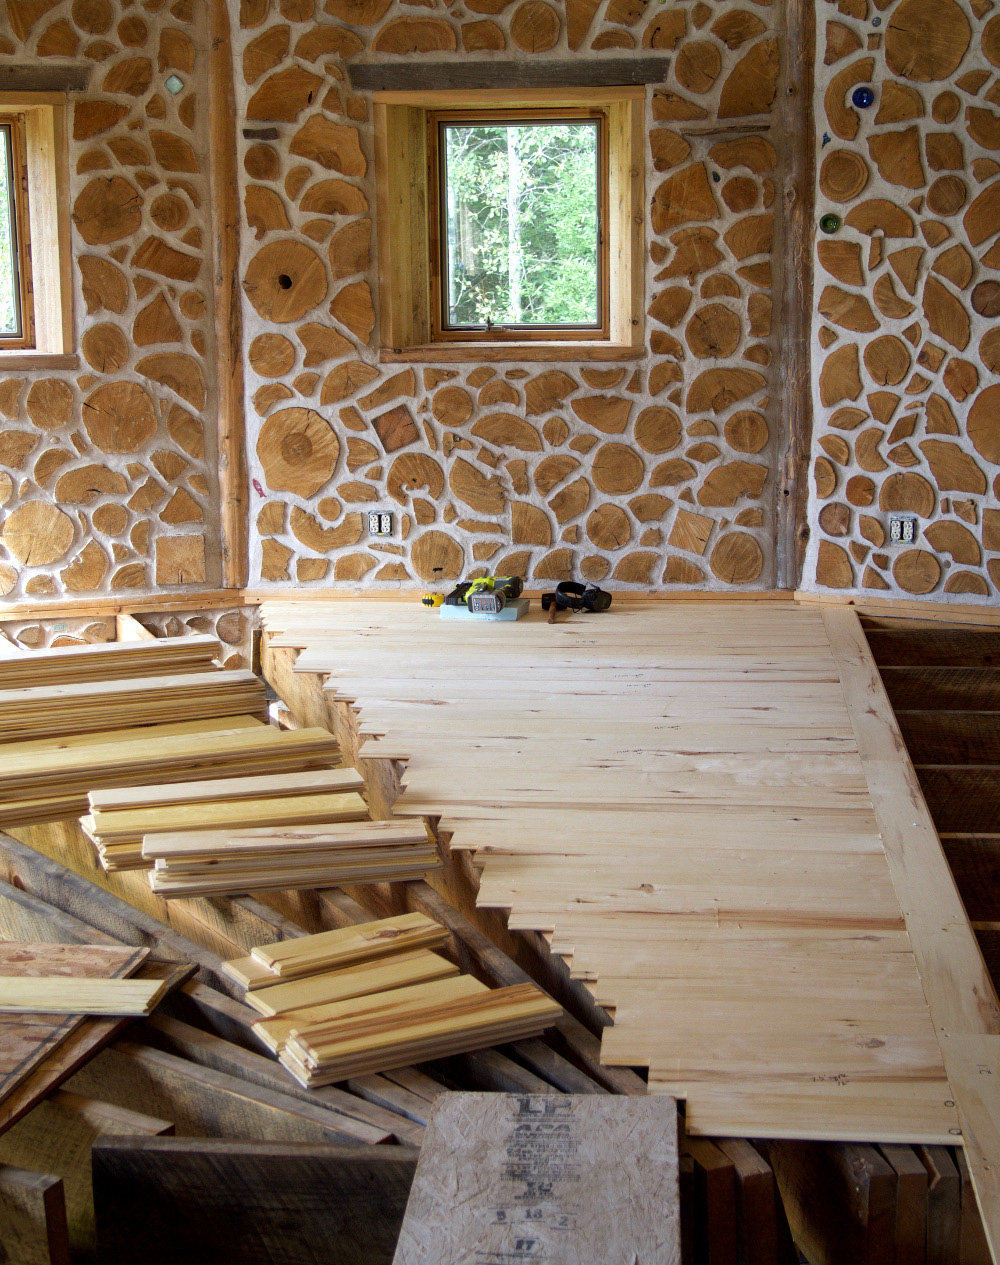
Time to put in a real second floor, one that doesn’t have bits sticking out or weak spots that startle you when you walk on them, like the temporary plywood floor did. Temporary, as in it was only there for eight and a half years (!). Since the floor will be visible from below, between the joists, it has to look good on both sides, top and bottom. We had originally thought we would use a single layer of inch-and-a-half-thick planks, but none of the millwork places around here could do that unless we bought them knives for their milling machines, at a price of many hundreds of dollars. Instead, we decided to do the floor in two layers – a bottom layer of local aspen, the exact same stuff as we put up on the ceiling, and a top layer of local maple. Each layer is three-quarters of an inch thick, giving us the same total thickness as we had originally planned.
The aspen on the ceiling came to us pre-finished, so I asked the folks we got the ceiling from, Keweenaw Specialty Woods, for more of the same. Unfortunately, they told me they no longer provide finishing services, apparently the one guy they had who did that has left! I was pretty bummed at the prospect of applying multiple coats of polyurethane, sanding between each coat, before putting down the boards. Then Clare asked why we didn’t just use more linseed oil, since we were not going to be dancing on the ceiling (sorry, Mr. Ritchie). This worked out great – it’s really easy to roll the stuff on, no sanding needed, one coat does the job.
Once we had some of the boards finished, I ran a string line from one end of the house to the other, and screwed in the first “baseline” row, lining one edge of the board up with the string.
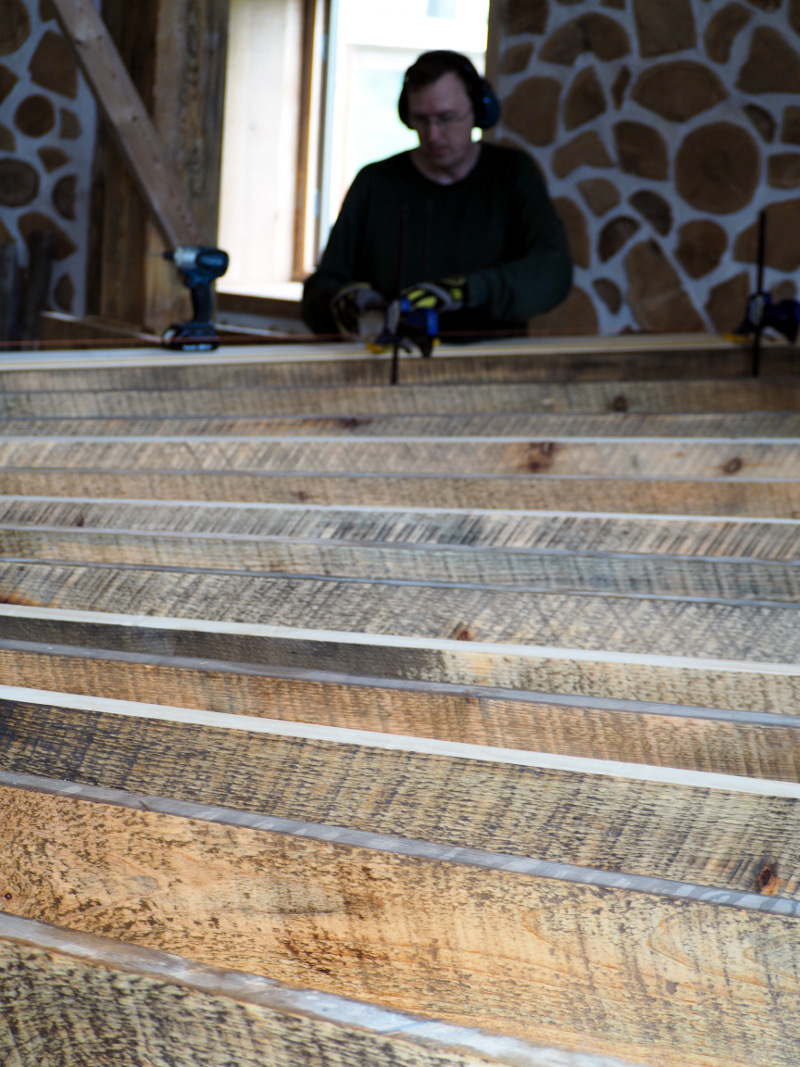
You may notice in the picture above, some of the joists are weathered on top, and some look freshly cut. Since they were not perfectly level with each other (probably a combination of ‘rustic’ building techniques and sitting there for 9 years), I had to plane some down, and shim some up, to achieve some semblance of level.
Once the baseline was in, and we organized the boards by size, it was time to start slappin’ ’em in, and nailin’ ’em down with the trusty “Airstrike”:
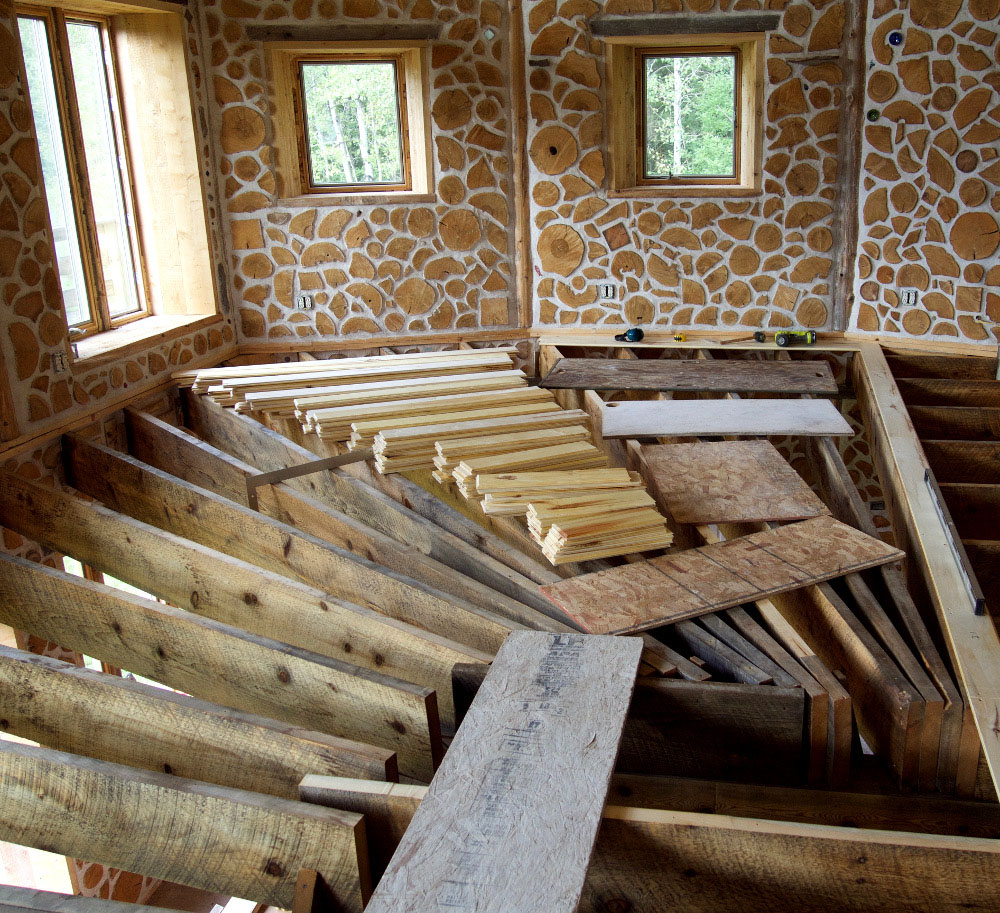
The joists are in a spiderweb-like radial pattern, so we had to put the boards down in sections, the ends overlapping a joist, then cut a straight line down the center of that joist with a circular saw. Like this:
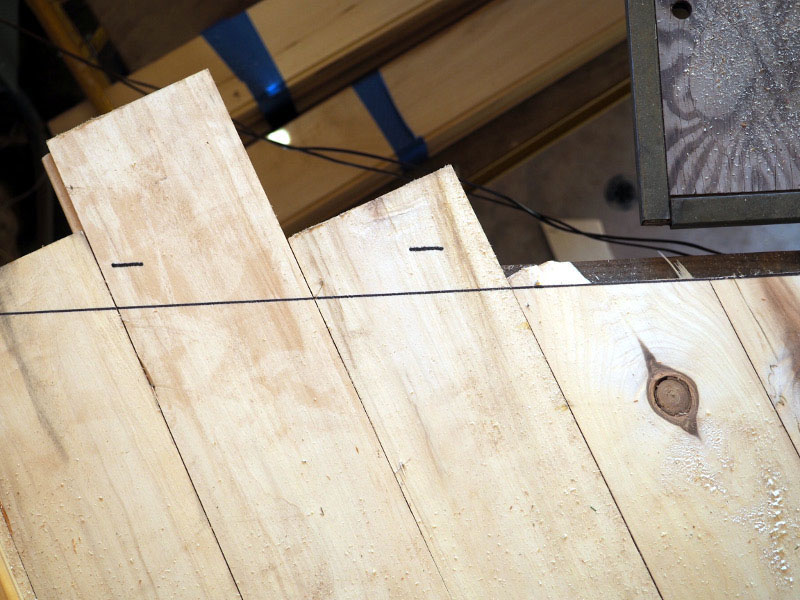
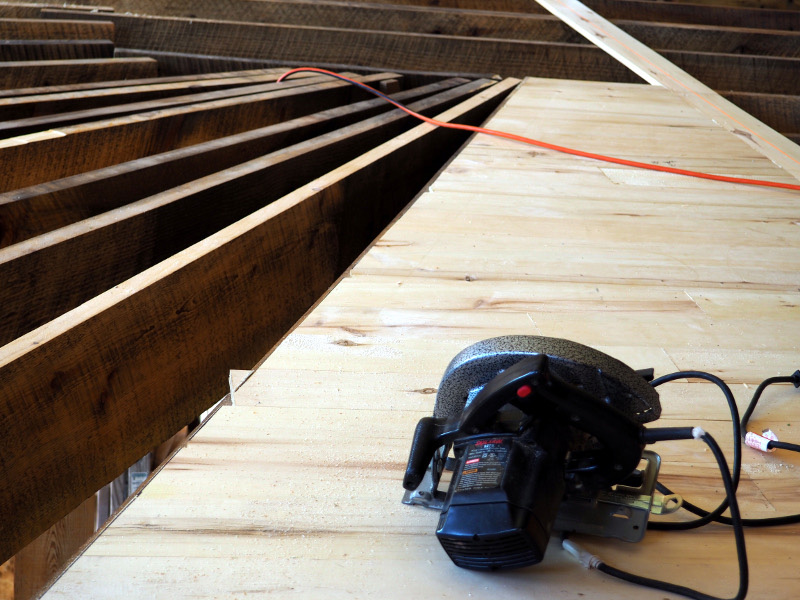
Then we butted up the next section’s boards against the line we just cut, and did the same thing all over again.
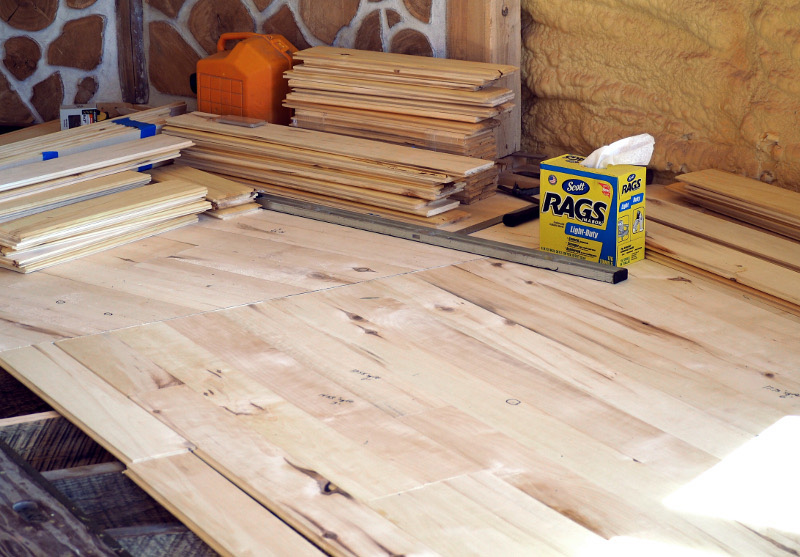
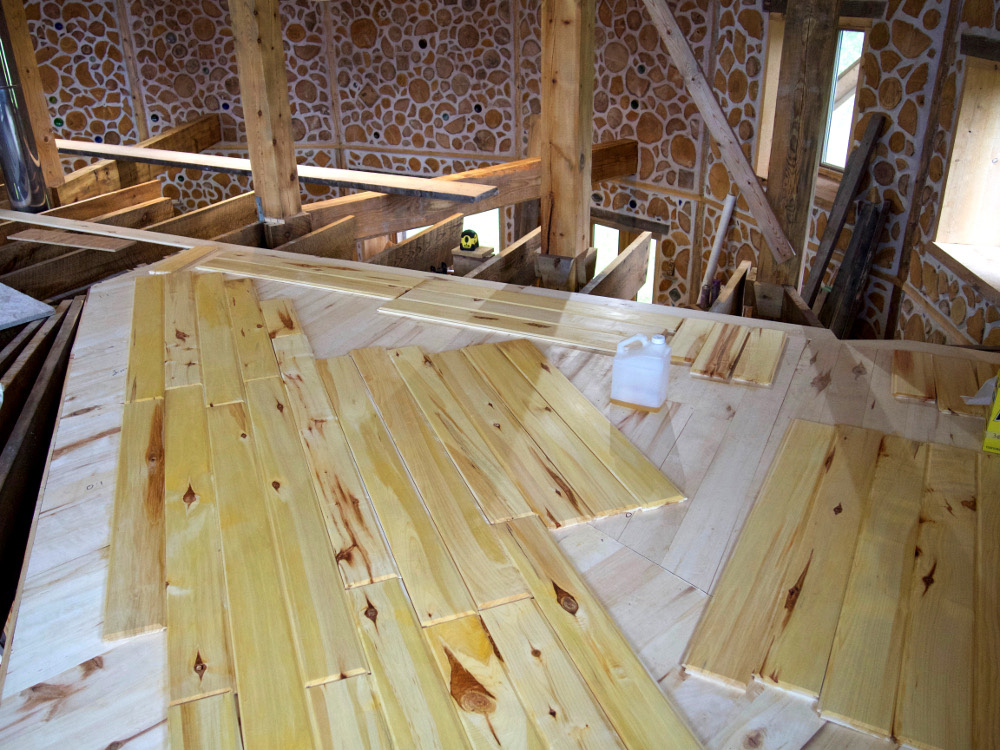
Soon, we had enough floor in place that we could use it to finish the rest of the boards in insect-free comfort. Note that we are only finishing the downward-facing side of the boards, which is why they are yellowish, and the top of the floor is not:
After a couple of weeks, working nights and weekends, we have a delightfully flat, smooth floor upstairs. Still need another layer, but it really is starting to look finished upstairs: