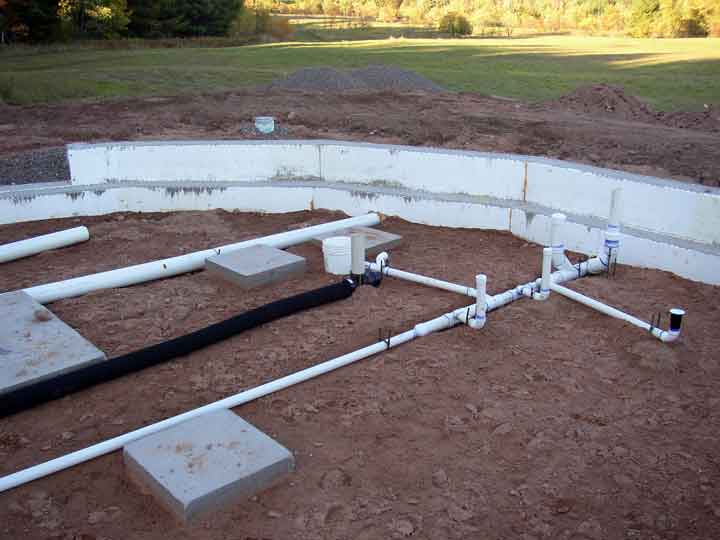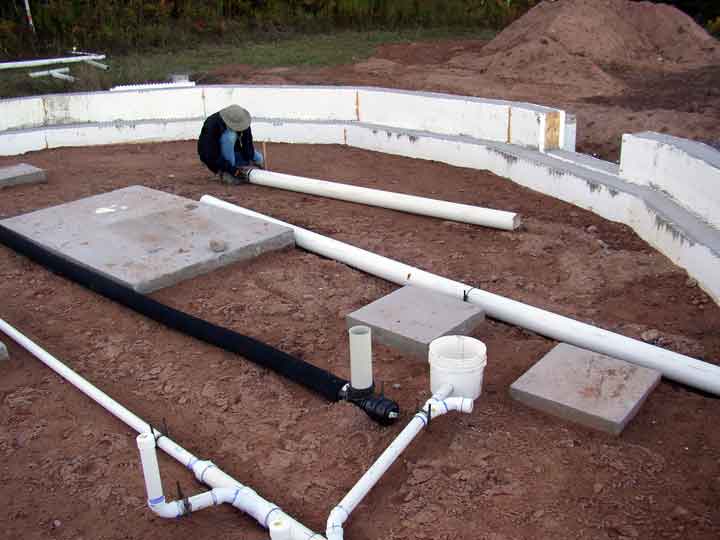
The next step in the process is to do the under-slab plumbing. Most of the plumbing will be above the slab and will be done after the house is closed in and the interior walls are built but not drywalled.We ran the lowest portion of the drain pipes and left stubs sticking out of what will be the slab. We then ran a black perforated pipe through the middle of the house for radon mitigation (or “Robot Mitigation” as we started calling it. I have no idea why). This may not be necessary, but it’s cheap and easy to do at this point.
We also ran a 6″ diameter pipe from the outside to where the masonry heater will be built. This provides outside air to the fire, which, along with the flue/chimney, creates a sealed combustion system which won’t depressurize the house when we light a fire. It also will prevent carbon monoxide from backing up into the house in any circumstance.

This part was pretty tricky – we had to be sure our measurements were correct, or we’ll be rearranging the walls to hide the plumbing! Also, neither of us has plumbed a house before, although I’ve done remodel plumbing. I was a bit nervous as this part required an inspection before we could continue. Fortunately, the inspector’s only beefs resulted in about 30 minutes of work fixing the issues.All told, the plumbing took about three weeks working weekends and some nights. I think Frank was starting to wonder if we would ever finish, since a master plumber would have had it knocked out in a couple of days.

Hey you guys ! We were wondering about the fireplace you’ll use and your ideas on how it’ll be put together.. are you building it yourself?
Also,,, these posts all have us as ” awaiting moderation” Whats that mean??
Hi, Choppinwood!
A lot of the “comments” we get are just spam, so I have to manually approve every comment before it appears. Otherwise, you might think our house is sponsored by some kind of pill or shady website! I try to check as often as I can, but life can be hectic sometimes.
As for the fireplace, we’re going to build a masonry heater from a kit. A fellow around here already built one, from Temp-Cast, and he said it was pretty easy to do. We saw it and it looks great. Also, it’ about a third of the price of the least expensive Tulikivi or Gimmee Shelter unit.
Once you install the kit, you have to finish it with rock or brick or tile. We haven’t decided yet, but for looks, rock does indeed rock.
Thanks for the Comments!
Greg
Temp-Cast, GREAT !! Please get pictures for us all, I gotta see ! Hey, your story is much appreciated. Best wishes, Steve& Kristi
Oh, I forgot, could you explain your idea more, about the pipe underneath the fireplace. Fresh air pipe, I don’t think I’ve heard this from anybody else… though thats not saying much,,, just that WE NEED TO KNOW all about it !!