Living on the Ceiling

Dennis Moore, Dennis Moore, riding through the land
Another snowy winter has passed and a reasonably early start to spring has led to a beautifully cool summer so far in the Upper Peninsula. We spent a good chunk of the winter (when I wasn’t enjoying skiing on my newly-mended foot) sorting fallen ceiling boards, removing the old nails, and putting them back into place.
We had blown cellulose insulation into the ceiling ourselves, which worked out great until we got to the peak of the ceiling, at which point I had stuffed bags of foam insulation scraps into the open space as best as I could, then holding them in place with squares of blue styrofoam. That was good from the standpoint of not wasting the insulation we had trimmed from the walls in order to fit the logs when doing the inner wall, but not the best from an insulation standpoint – there were gaps between the bags and we wanted a tighter seal.
I figured that since I had to re-do the ceiling, and since the peak was now accessible again, it would be a good idea to do the insulation at the top the way we really wanted it.
I used a spray-foam kit from a big box store – it’s similar to the cans of spray foam that you can get, but covers a lot more area, and comes in the form of two tanks whose contents get mixed together at the spray nozzle. It’s messy work, and requires a respirator and sacrificial clothes, as well as protecting the rest of the house with plastic dropcloths, since tiny droplets of foam get everywhere. I hope to not ever have to do that again. After I was done, the bays between the rafters all had at least six inches of foam in them, sealing the ceiling but good.
It's just a top-gap measure
Once again, I crammed bags of insulation scraps into the bays and locked them into place with blueboard:
Mister Blue Ceiling, please tell us why
Finally, I put back the OSB sheathing and re-spackled the joints, and nailed up the final courses of knotty aspen paneling on the ceiling. As you might imagine, I used stout screws in the top course, to prevent any re-occurrences of fallen ceiling syndrome. You can’t tell that there was ever a ceiling drama now, and the house is better insulated for it.
It's like it never happened - except for the extra months of work...
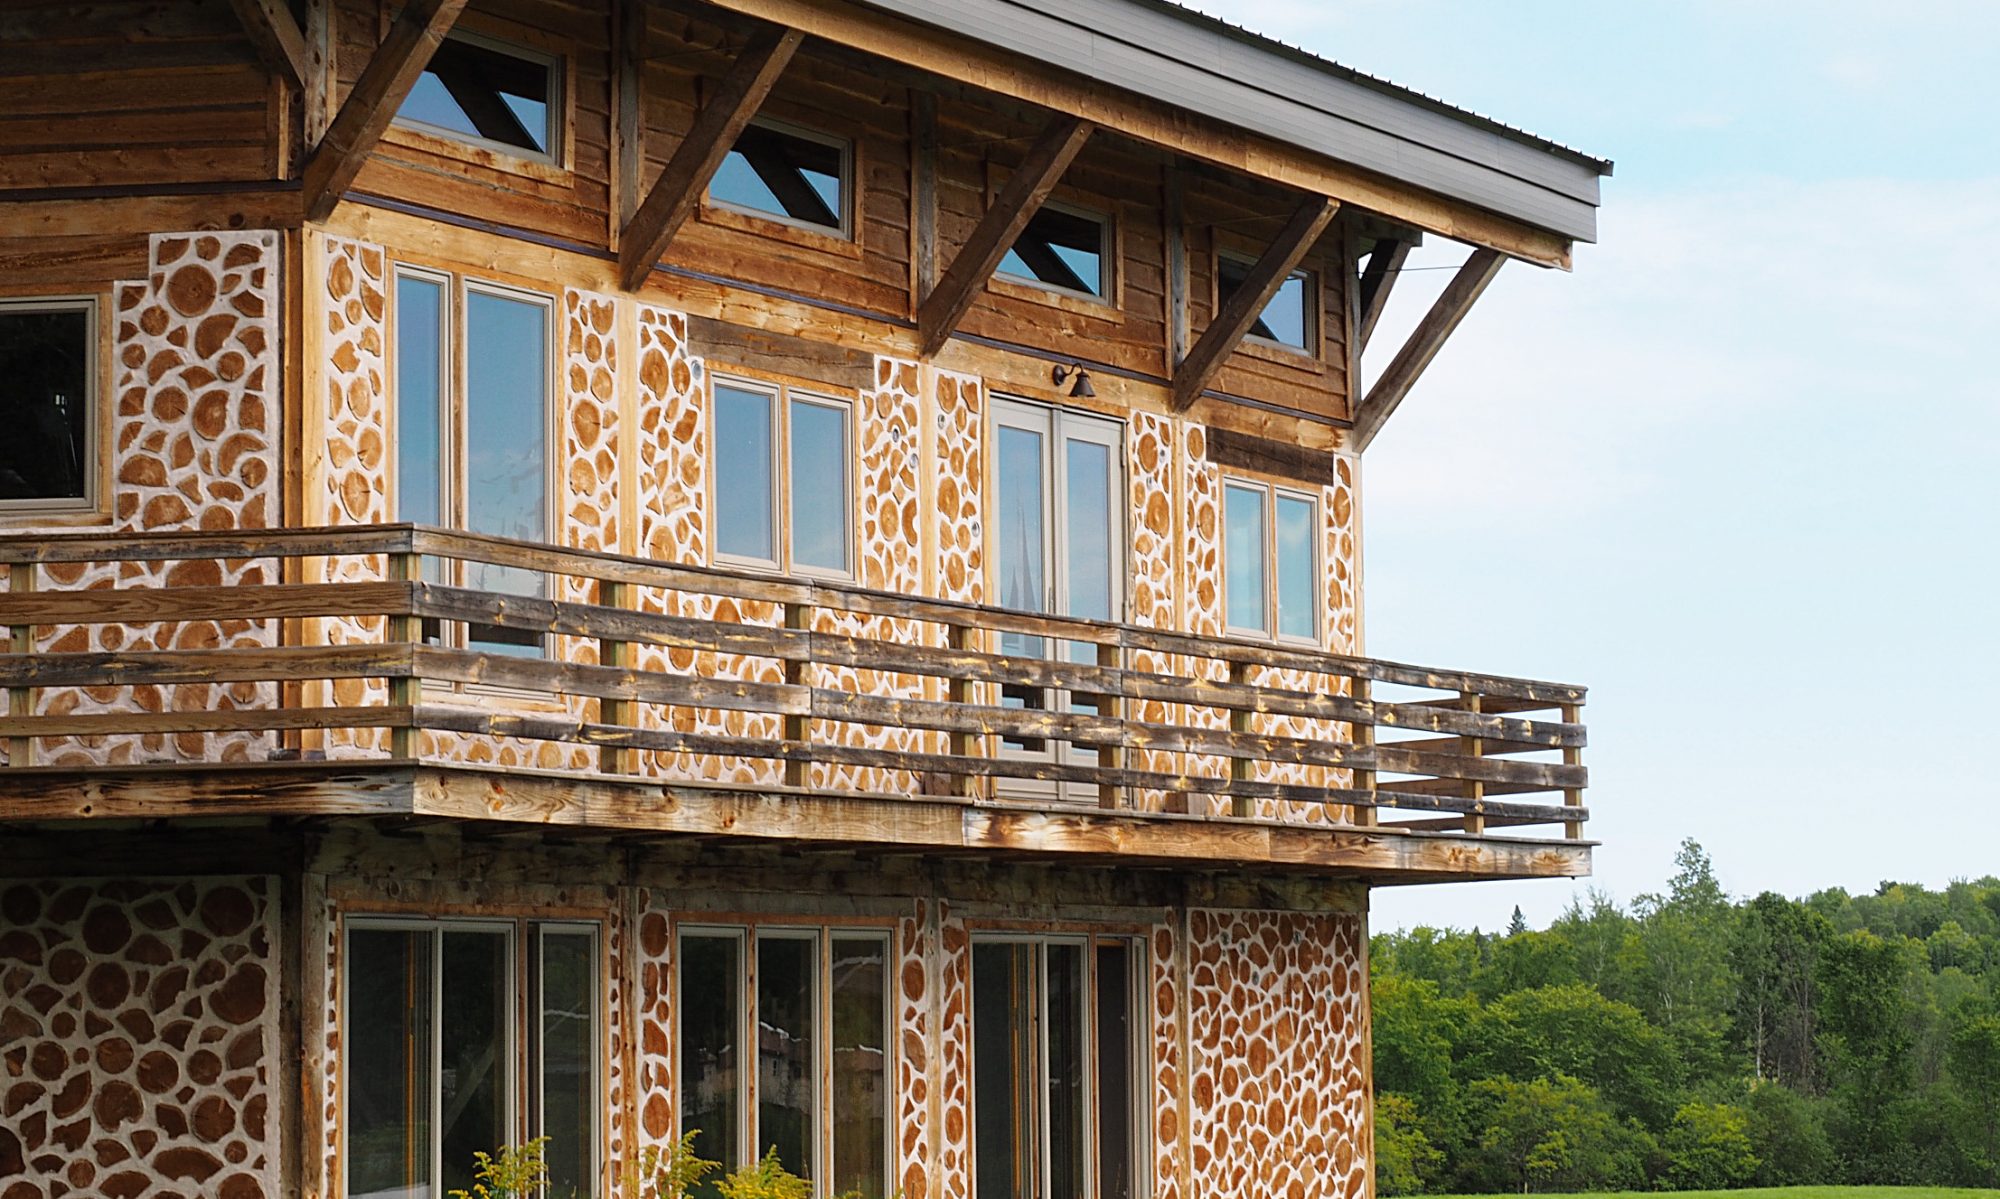
I started writing this post in June, when the lupins were in high bloom, as you can see from the first picture. Our next task: finish cordwooding the walls!

The Interior View

While insulating the ceiling we had to take into account areas where infrastructure such as the chimney and the plumbing vent would eventually have to get through the roof. This involved adding some extra baffles to leave openings in the insulation. We also had to run some electric wire (Romex) for overhead lighting and a ceiling fan.

Always plan ahead for lighting.

By February of 2011, we were finished with the ceiling for the time being, and were working on pulling wiring through the conduit with a fish tape, and wiring the outlets. We had a few circuits live in no time.

It's an outlet.

Another important task was to cut 2x8s into base plates for the inner cordwood walls. As we spent all this time inside in the now well-insulated house, we noticed how well our passive solar design was working. On sunny days, the house warmed up and the in-floor heating kicked in rarely, if at all.

A sunny space.

Things Heat Up

Greg struggled to connect the water heater to the in-floor heating system so we could return the rented propane heater. He did most of this during the evening hours after work. After a series of frightening misadventures which included nearly asphyxiating himself and a late night deer/truck collision, the in-floor heating was up and running. Here you can see the water heater, water tank, and the electrical panel in the utility area:

The utility room, where the magic happens.

Our next major task was to insulate the roof. The walls were nice and cozy, but the roof consisted of just decking and steel. Massive heat loss caused huge icicles to form.

Yikes!

We cut pieces of OSB to attach to the bottom roof joists, and the resultant sixteen inch space was to be filled with blown in cellulose insulation. Installing the OSB was especially challenging in the high-ceilinged living room area, which required some heavy lifting, and work from high atop a scaffolding. For some of this, I braced the OSB with a two-by-four while Greg wielded the nail gun.

Greg vs. the Ceiling.

The hardware store delivered a big load cellulose insulation, which comes in rectangular plastic-wrapped bales:

Wet blanket.

To fill each course of OSB with insulation, we rented a machine called the Krendl, which grinds up the bales of cellulose and blows it out through an enormous, unwieldy corrugated plastic hose. It’s reminiscent of something from a Terry Gilliam cartoon.

The inimitable Krendl.

It took a while to get the hang of the temperamental Krendl. We worked on the ceiling throughout December and into January of 2011, installing rows of OSB panels, filling them with insulation, and gradually working our way to the front of the house.

Insulation, in situ.

Foam Power

Before we could have the contractor come to spray the walls with insulation, there were a few more things to take care of. We had to plan for electricity and water infrastructure before winter weather set in. We hired an electrical contractor to run metal conduit along the walls of the house for the electrical wiring. This conduit would ultimately reside in the insulation layer, between the two cordwood layers.

Electricity!

We also cut some baffles made of corrugated plastic to place between the roof joists above the walls.

Simply baffling.

Once the conduit was in place, we had a local contractor, Superior Polymer, spray the walls with open cell foam. They completed the job very quickly, in under a day. It was a really striking difference to walk into the newly insulated house.

The contractors were very thorough, and generous with the foam. I mean, they sprayed the bejeezus out of the place. It was like walking into a foam cave. It was immediately much warmer, and incredibly quiet inside. Although I knew it was only temporary, it was a bit sad to no longer see cordwood on the inside.

The walls, white with foam.

Yes, that's a lot of foam.

Our next important item was to get running water inside the house. This would be necessary in order to heat the house using the in-floor heating system.