Wood Light/Wood Heat

Fire, I'll take you to burn. Fire, I'll take you to learn.

So here we are, Fall 2012, and although we’ve had the masonry heater in since December 2010, we haven’t been able to fire it up – no chimney! I was determined that this fall we would be able to set fires inside the house (and not have to call the Otter Lake Volunteer Fire Department).

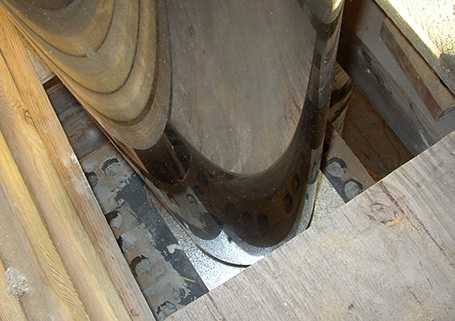
Eric from Solid Rock Masonry had built up a brick chimney to just below the second floor. We thought it would look kind of neat (and be easiest) to switch to metal chimney from the top of the brick chimney all the way through the ceiling and the roof. The first step was a transition plate from masonry to Class A chimney pipe:

Silver Tube Dance Party

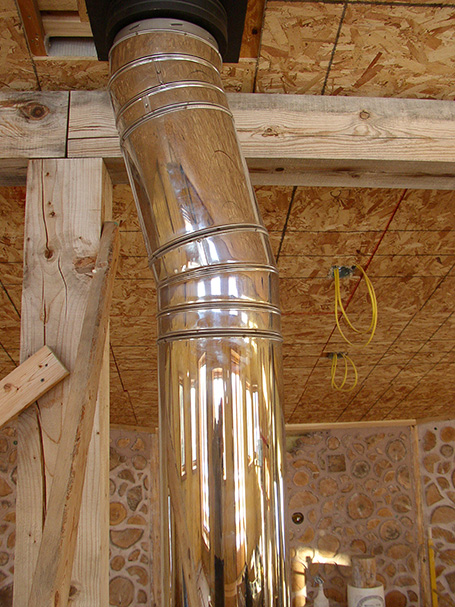
Class A chimney is double-walled with an insulating blanket between the walls. It’s safer and requires less distance from flammable materials than single-wall stove pipe. Another reason we went with metal pipe is that the chimney goes through the floor joists holding up the second floor, then through the roof rafters, and these two things are not quite lined up at Nerdwood (it’s rustic, OK?). Thus, we had to put a bit of an offset in the chimney to move it over about four inches.

By hook or by crook, we will.

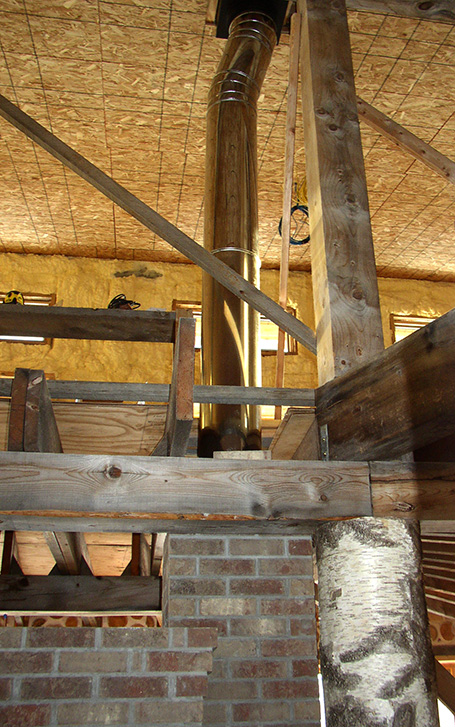
Here’s how the inside looks. Just ignore the cross-braces that we’re leaving in until we put up the railing.

Smokestack Lightning

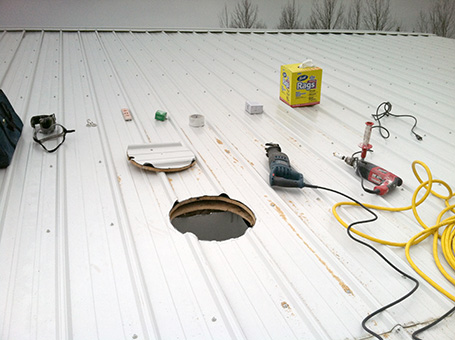
So far, so good. Now, Clare’s favorite part, “Greg monkeys around on the roof.” It was kind of sickening to cut a big hole in our nice metal roof, but it beats having the house fill with smoke.

Making a hole where the rain gets in...

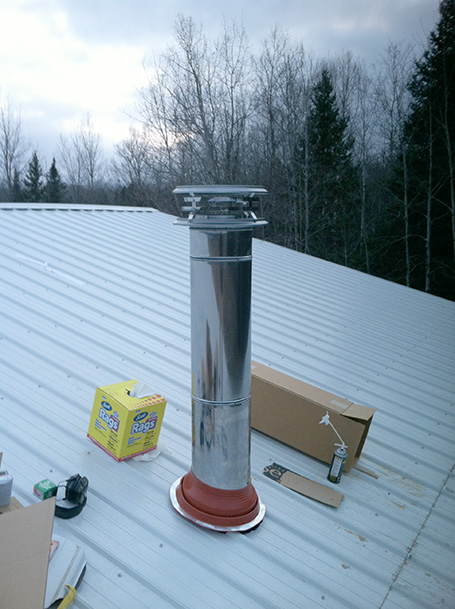
This part was a little bit nerve-wracking, since it was late November and at any time it could start snowing and not stop for a month or two. I worked as fast as I could, adding the rest of the chimney sections, then using a form-fitting rubber boot as  the first level of flashing.

The morning sun is shining like a red rubber boot

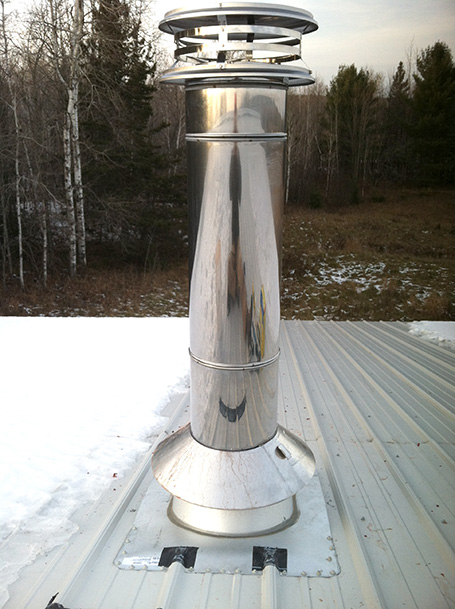
After caulking and screwing this down, and letting the caulk cure, I added a second flashing, this one metal. Notice the minor amount of snow that fell in the intervening few days:

Flash & the Pan

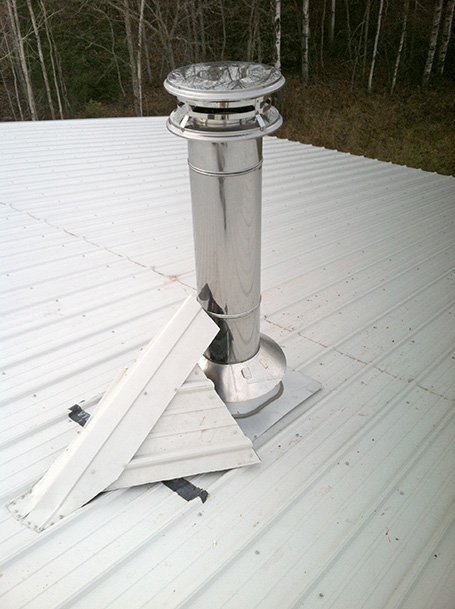
Finally, to protect the chimney from a freight train of snow sliding down the metal roof, I used some extra roofing, plywood, lumber and rubber flashing to build a “cricket” to divert the snow:

Chimney, not Jiminy...

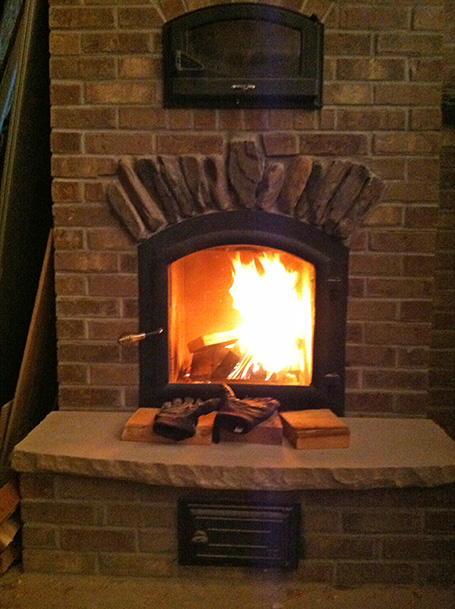
A day or two after this, it did in fact snow quite a bit. But, as you can see from the first picture, we were too busy enjoying our first Nerdwood fire to worry about that.
What’s He Building in There?

“What’s he building in there?
What the hell is he building in there?” -Tom Waits

As Thanksgiving weekend, 2010 approached, we knew that two important things had to happen. We needed running water inside the house, and a way to keep the temperature consistently above freezing. This had become a matter of some urgency because a contractor was coming from Duluth with his crew to build our masonry heater.

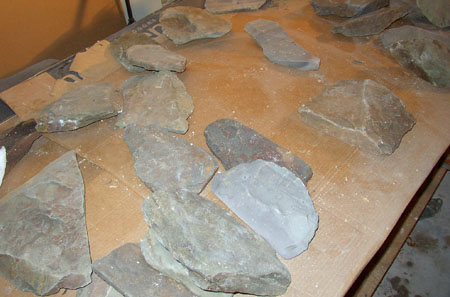
We had purchased the masonry heater kit the previous summer at the Midwest Renewable Energy Fair (as mentioned in Greg’s previous post). After wrangling the huge heavy cement blocks up to the house, we decided it would be best to leave the actual assembly to an experienced mason. Fortunately, we had also met Eric Moshier, a contractor who had built many masonry heaters using the Temp-Cast kit, at the MWREF. He was also able to cast additional parts to add a bread oven to the unit. He was willing to come out to the Keweenaw to do the job, so we scheduled the work to be done just after Thanksgiving. We selected and ordered bricks according to Eric’s directions, and collected some beautiful river slates for the masons to incorporate into the brick facade.

From the Slate River, of course. Where else?

We needed running water inside the house. Once we had water, we could hook up the in-floor heating. We spent the better part of Black Friday on a trip down to the nearest Big Box Home Improvement Store in Iron Mountain to purchase a hot water heater. There was just one problem: locating the water line.

Back when Frank Beauchamp poured the foundation, we had him dig a trench and lay in a pipe from near the well up through the slab and into house. So, in theory, it was just a matter of digging down about six feet or so, locating the pipe, and running a water line through it from the well head to the utility room. Greg started digging at the place that had been marked with a post four years previously. And he kept digging further and further into the cold mud. No luck. Eric’s crew arrived, and Greg still hadn’t been able to locate it. It was time to improvise.

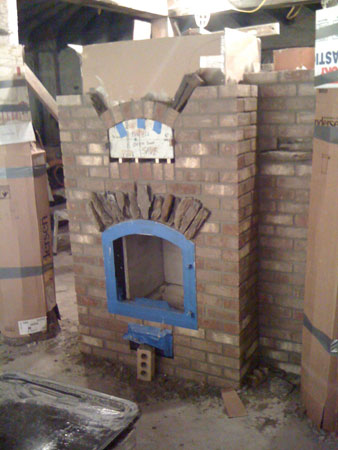
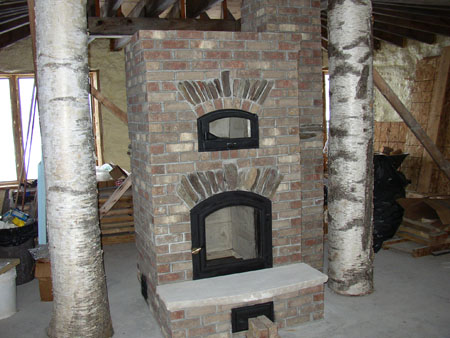
To mix their mortar, Eric’s crew collected water from the melting snow running off the roof. Our many plastic buckets were once again put to use. Greg rented a propane heater to keep the house warm enough for the mortar to cure properly. Work on the masonry heater went quickly. They put the kit together, faced it with brick, and added some slate accents.

Masonry in progress.

We were certainly impressed with the results.

Leave it to the professionals.

The propane heater had bought us bit of time, but it was vital that we get the water running and the in-floor heating system flowing. Greg called Frank, who came out with his backhoe and dug an enormous pit until he finally located that pipe. Greg and I were able to come out after work and snake a water line through the pipe into the house, and electricity from the house out to the well head. This was all very exciting to do in the pitch dark, with snow flying, giant piles of freezing mud everywhere, and a gaping pit in the ground in front of the well. Anyone observing must have wondered what on earth was going on.

“What’s he building in there?
We have a right know.”

Blocks and blocks

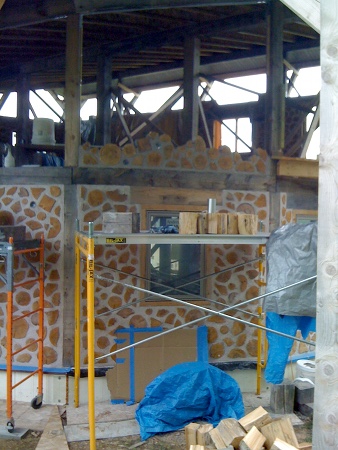
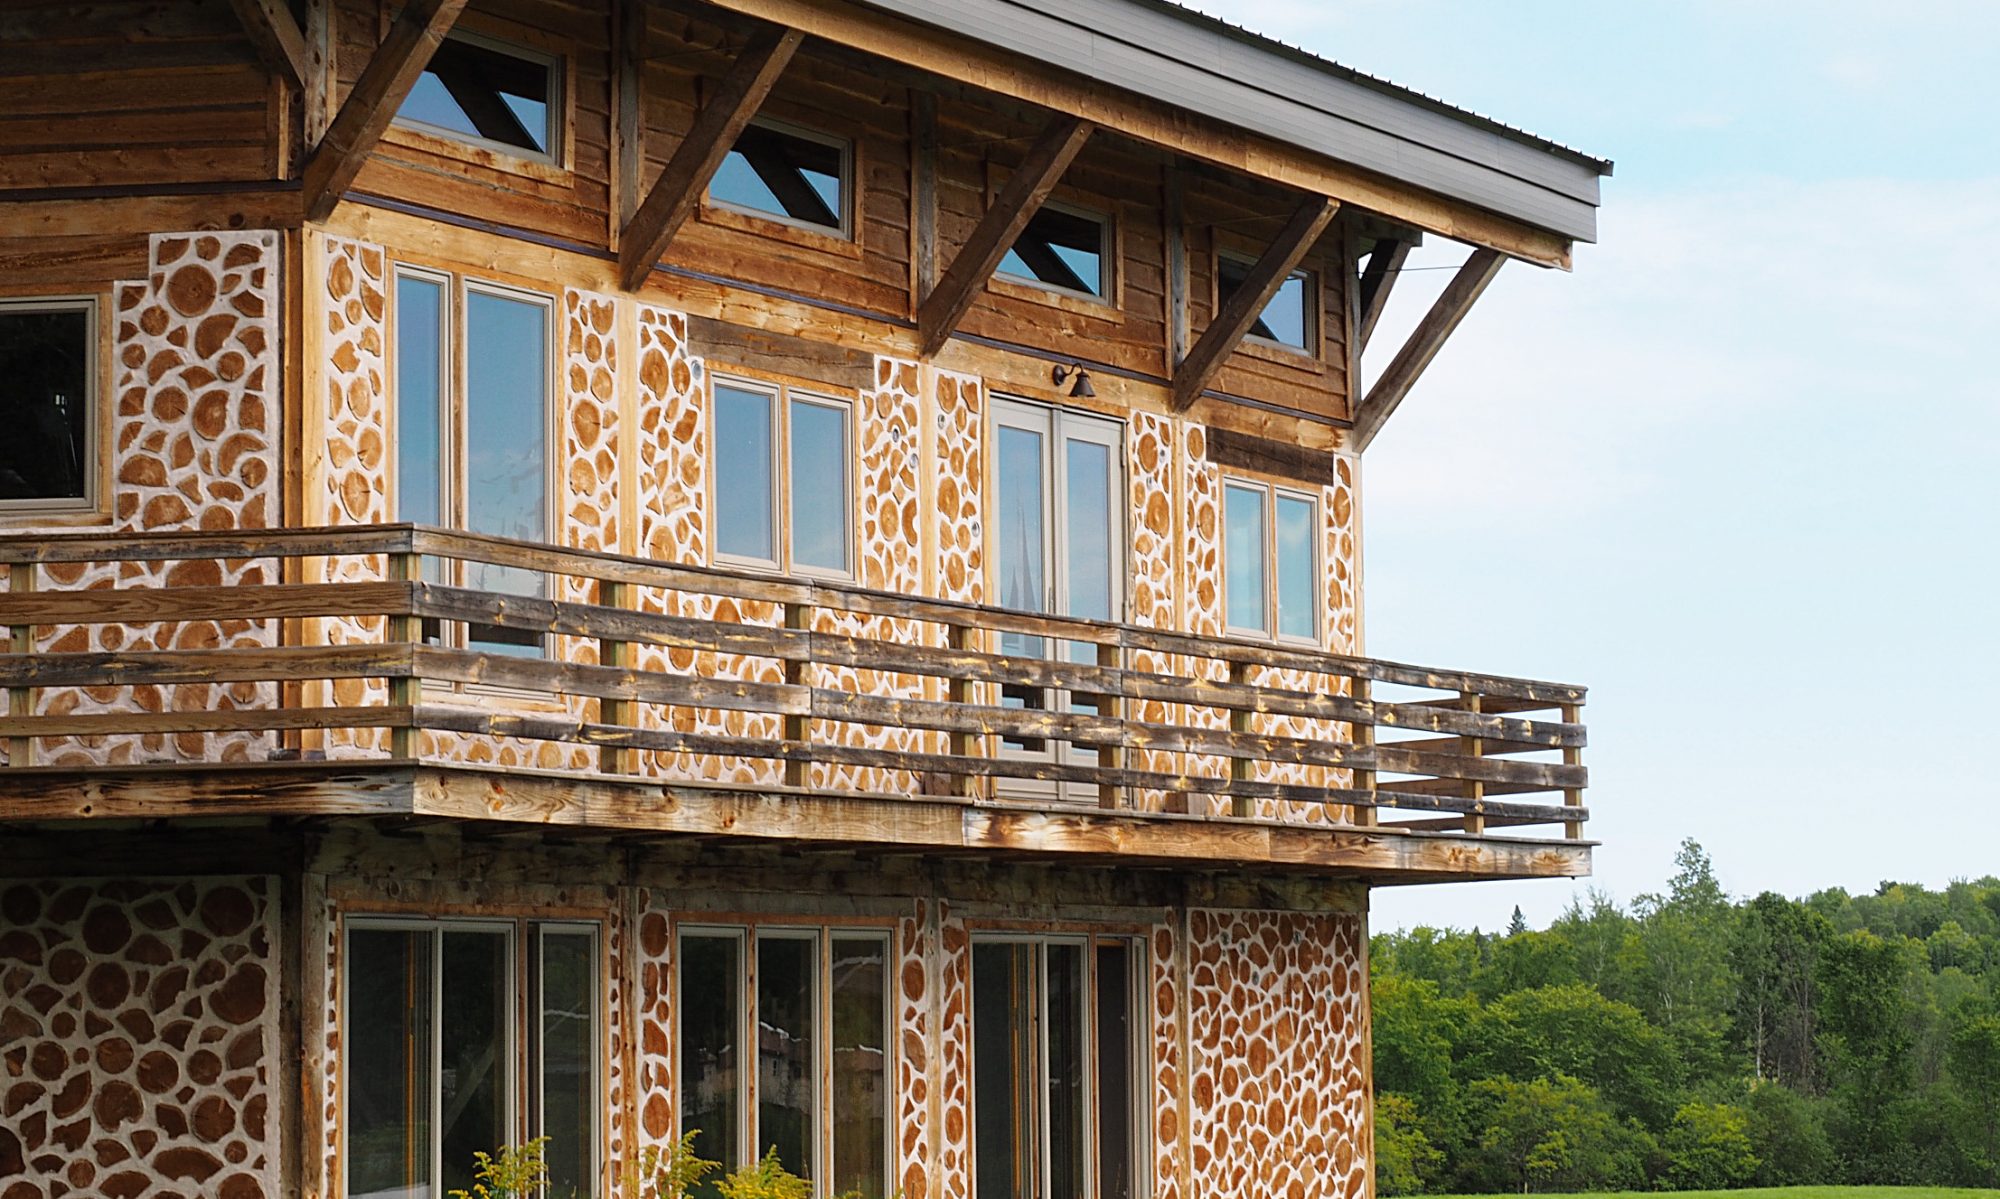
In an effort to keep out of the blazing sun, we decided to pick up cordwooding in the back of the house – it’s the north side and is well under the large rear overhang. Two things make this area particularly difficult, though. First, there are no windows at all here, since from an energy efficiency standpoint, you want to minimize the number of north-facing windows. Thus, these walls will take a LOT of mortaring to finish. Second, there is no easy access like there was in the front; no deck on the outside, no second floor on the inside. We’ll have to work on scaffolding and haul all the logs and mortar up by hand.

Fortunately, a friend at work had some extra scaffolding she was not using for a while and loaned it to us (thanks, Michelle!). Fourth of July weekend, we started the Big Log Slog:

Scaffolding? Or old scaffing?

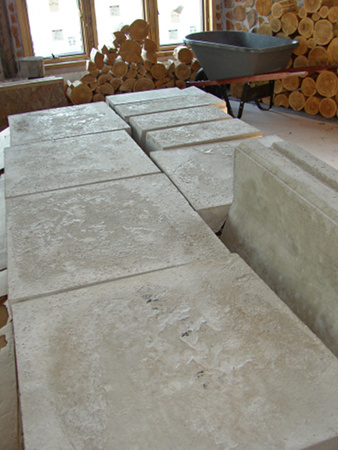
Last month, we went to the Midwest Renewable Energy Fair in Custer, WI. In addition to seeing cordwood mavens Richard and Becky Flateau, we also found a vendor who used to carry the masonry heater kit we have been planning to install in Nerdwood. He still had one lying around and was happy to let it go for a decent price. As I found out with the mortar mixer, nobody wants to deliver anything big to a job site unless you have a forklift there to unload it from the truck. Definitely not the case here! Once again, I had to have it delivered to work where there is a loading dock. The kit is made up of about forty pieces cast from high-heat cement, each weighing from about fifty pounds to about a hundred.

As the kit sat on the (luckily very-little-used) dock, each day we would load ten or so pieces onto the pickup drive them to the house, and schlep them inside. Naturally, this all happened in the middle of a heat wave, adding to the fun of carrying heavy, oddly-shaped, brittle, slippery blocks around. Here they are, getting underfoot:

Blocks on blocks are all around, neon lit for silent sound

Aside from the this heat wave, the weather has been excellent for the garden, raining at least a couple of times a week. Butterfly weed in bloom:

Go ahead, stuff your proboscis!

The Piper at the Gates of Dawn

It's kind of Seussian, eh?

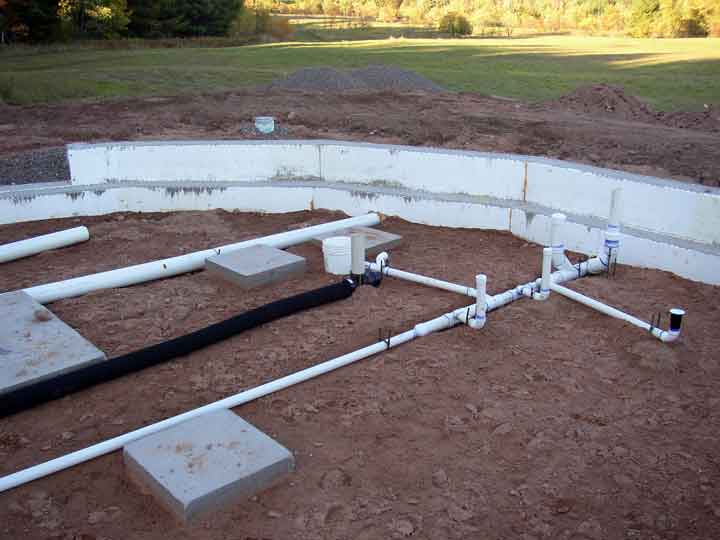
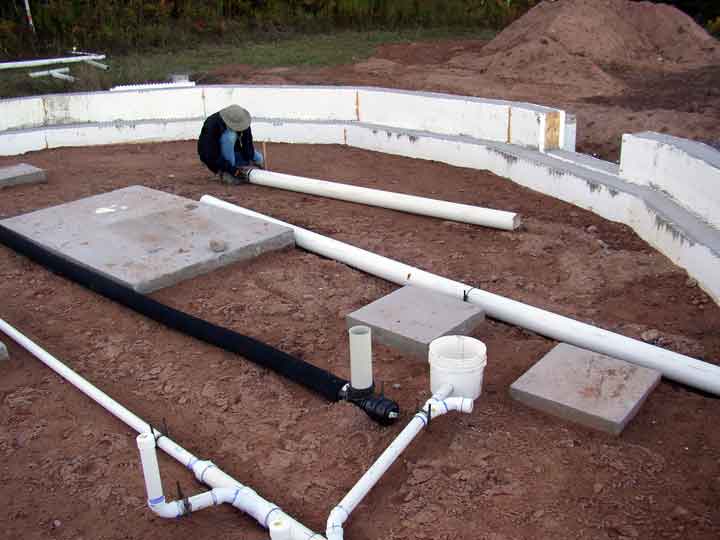
The next step in the process is to do the under-slab plumbing. Most of the plumbing will be above the slab and will be done after the house is closed in and the interior walls are built but not drywalled.We ran the lowest portion of the drain pipes and left stubs sticking out of what will be the slab. We then ran a black perforated pipe through the middle of the house for radon mitigation (or “Robot Mitigation” as we started calling it. I have no idea why). This may not be necessary, but it’s cheap and easy to do at this point.

We also ran a 6″ diameter pipe from the outside to where the masonry heater will be built. This provides outside air to the fire, which, along with the flue/chimney, creates a sealed combustion system which won’t depressurize the house when we light a fire. It also will prevent carbon monoxide from backing up into the house in any circumstance.

Ow! My knees!

This part was pretty tricky – we had to be sure our measurements were correct, or we’ll be rearranging the walls to hide the plumbing! Also, neither of us has plumbed a house before, although I’ve done remodel plumbing. I was a bit nervous as this part required an inspection before we could continue. Fortunately, the inspector’s only beefs resulted in about 30 minutes of work fixing the issues.All told, the plumbing took about three weeks working weekends and some nights. I think Frank was starting to wonder if we would ever finish, since a master plumber would have had it knocked out in a couple of days.