As work has progressed at Nerdwood, there have been times when something didn’t quite turn out right, or didn’t look or function as we expected. These missteps have resulted in having to do things over, which, considering how long this house is taking us to build, can be a bit deflating. I can’t really say I’m surprised this happens; it seems to happen to professionals as well, and we are anything but. Still, these lessons are a bit heartbreaking.
In this post, I’m going to share two instances requiring re-work that occurred this year, one a bit bigger than previous instances, and the other a whole lot bigger. Hopefully the lessons we learned will help others avoid the same mistakes.
Lesson I
The first mistake has been bugging me for nearly two years. When I put in the chimney, as noted in Wood Light/Wood Heat, I struggled with the proper way to flash the chimney. There was not a lot of information available about properly flashing a chimney coming out of a metal roof. Reluctant to cut into our lovely metal roof, I tried a silicone flashing boot designed for bolting on top of the existing roof, and I bolted a metal flashing cone on top of that for good measure.
Unfortunately, when spring came, so did the water, drip-drip-dripping from the ceiling box the chimney goes into. Not a torrent by any means, just a small drip every time there was a decent rain. Argh! Clearly, I would have to figure out a way to lap the metal roofing over the flashing, just like you would with a shingle roof.
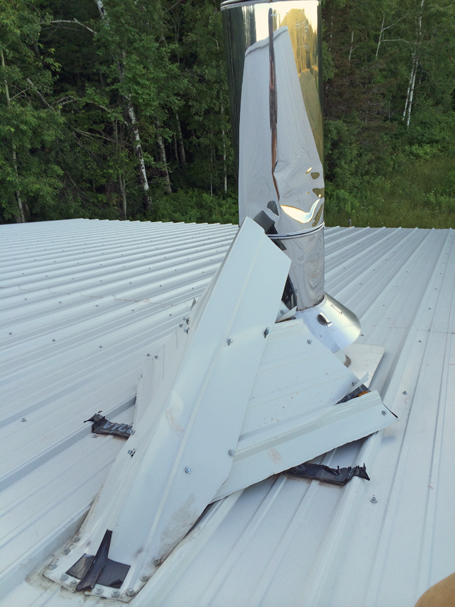
With the many tasks last year, I just didn’t find the time to take care of the chimney issue. Finally, this past July, I got up on the roof to see what was going on. In the last post, I mentioned the crazy hard winter we, and much of the country, experienced this past year. When I got up top, I saw that the cricket (snow diverter) I had built was woefully inadequate:
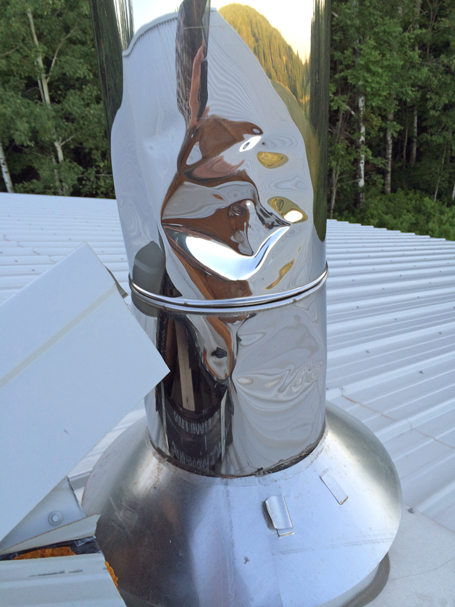
It did it’s best, but clearly we need a much taller cricket to protect the full height of the chimney, and avoid this happening again:
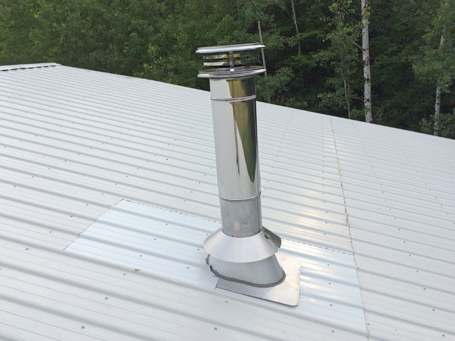
So, first things first, I had to stop the dripping; we could worry about putting up a new diverter later. First, we purchased another sheet of the same roofing we used originally. Good thing it’s still made! Then, I spent an afternoon with thin cardboard and a pair of scissors, figuring out how to cut and overlap everything so the water would decide to run down the roof instead of into the chimney box. You can’t fight water, but you can persuade it. Another day on the roof with the new sheet of roofing and a bucket o’ tools, and the job was done. Interesting to see how the color of the existing roof has changed over six years.
As I write this in October, there has been nary a drop in the house since July, so I believe this did the trick. I also noticed that when I removed the old roofing panel, much to my relief, the decking underneath was in good shape. Not enough water had gotten in to rot out any of the framing or decking. We still need to get that cricket installed before the snow flies.
Lesson II
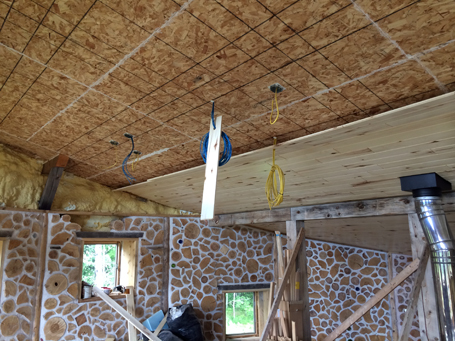
A week or so after fixing the chimney, we were heading out of town so I could have surgery done on my bum foot. On the way out, we stopped at Nerdwood to have a look at things. When I went inside, I admired our new ceiling, as I had done every time over the past few weeks. As you walk in, you see the living room ceiling first, and today it looked great as always. When I looked at the second-floor ceiling, nothing unusual registered at first. Then a feeling of… wrongness came over me.
I suddenly had a disorienting feeling of being in a dream. I realized I was looking at OSB sheeting on the ceiling, as I had been for the previous three years. As in a dream, I knew that the ceiling was done, but what I saw said that it wasn’t. I fought the cognitive dissonance as I ascended the ladder. Something terrible had happened.
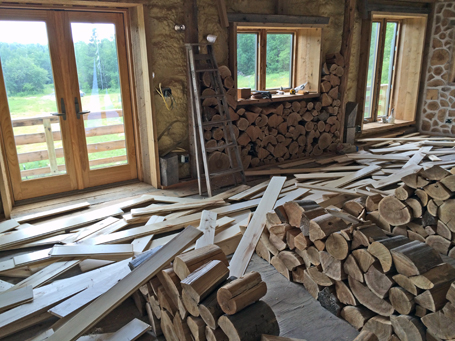
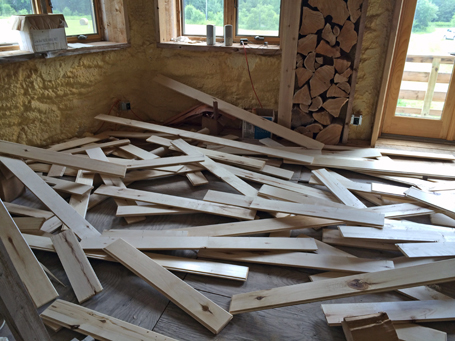
When we put up the ceiling, we used a brad nailer, shooting 18-ga. brads through the tongue of the paneling, into the OSB sheeting. Where there were roof rafters behind the OSB, I made sure to put a brad as well, so it would go through the OSB and into the rafter. The paneling was very tight against the OSB with this method, and it seemed like nothing could dislodge it. I was very wrong about that. The last course, at the apex of the ceiling in the front of the house, had come loose, and row by row, the paneling simply peeled off the OSB like a roll-top desk. About two-thirds of the way down the second-floor portion of the ceiling, several temporary braces had stopped the peeling of the ceiling, leaving one-third left and the rest of the paneling in a jumbled heap on the second floor.
That was weeks worth of work, undone in what probably took a few seconds. What’s even worse, we ordered the paneling pre-finished, and many of the fallen boards have unsightly gouges, dents and scrapes on them. They all have useless brads sticking out of them, which will have to be removed in order to re-use the good ones.
Argh! I did not know that I should have secured the last, highest row by driving proper screws into the boards, through the OSB and into the roof rafters. I knew this coming winter we would be framing above the cordwood, and this framing would secure the top row of paneling into the ceiling, but I also knew the brads would surely hold until then. Well, you can quit calling me Shirley.
One thing that made this less bad than it could have been was that it was the second-floor ceiling that came down, rather than the living room ceiling. Although it’s bigger in area, it was much easier to put up due to the lower ceiling height and the lack of large beams in the way of the scaffolding.
We delayed our trip for an hour or so while I secured what was left of the second-floor ceiling using screws, then secured the top row of the living room ceiling using screws as well. I am not looking forward to de-nailing, sorting and re-installing those boards.
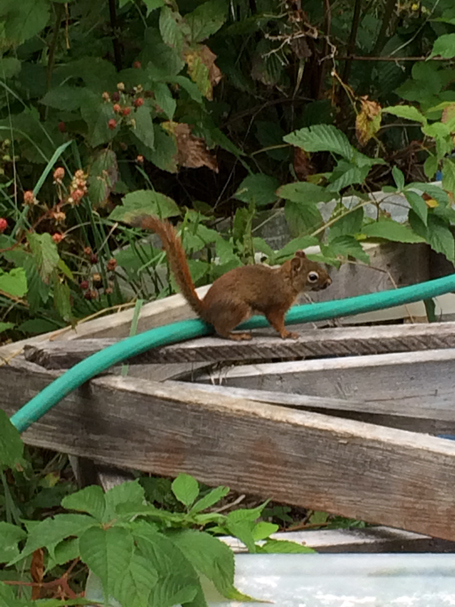
This guy was mightily amused by the drama:
