This winter, we made a decision that it was time to set a date to move into Nerdwood. We’re getting close enough to finishing that a firm date would inspire us to push, and push hard, to finish at least the basics needed to live there. Not only are we itching to live there, but since we are renting an apartment while we work on the house, actually living there will save us a big chunk o’ change every month. We had wanted to be DONE done by the time we moved in, but let’s face it, 10+ years is long enough. We can finish after we move in.
Our apartment lease runs out at the end of July this year (2017), so we told out landlord that we are not renewing. Yikes! Now it’s for real. We’ve made a list of things that absolutely must be ready by the time we move in. Stairs, the top layer of flooring on the second floor, maybe a few appliances, like a fridge, stove and washing machine. Oh, and first order of business, a real bathroom.
This bathroom will be on the second floor, so we started by putting down plywood underlayment on top of the aspen subfloor. Eventually we will tile on top of the plywood. Once the underlayment was down, it was time to start framing the walls.
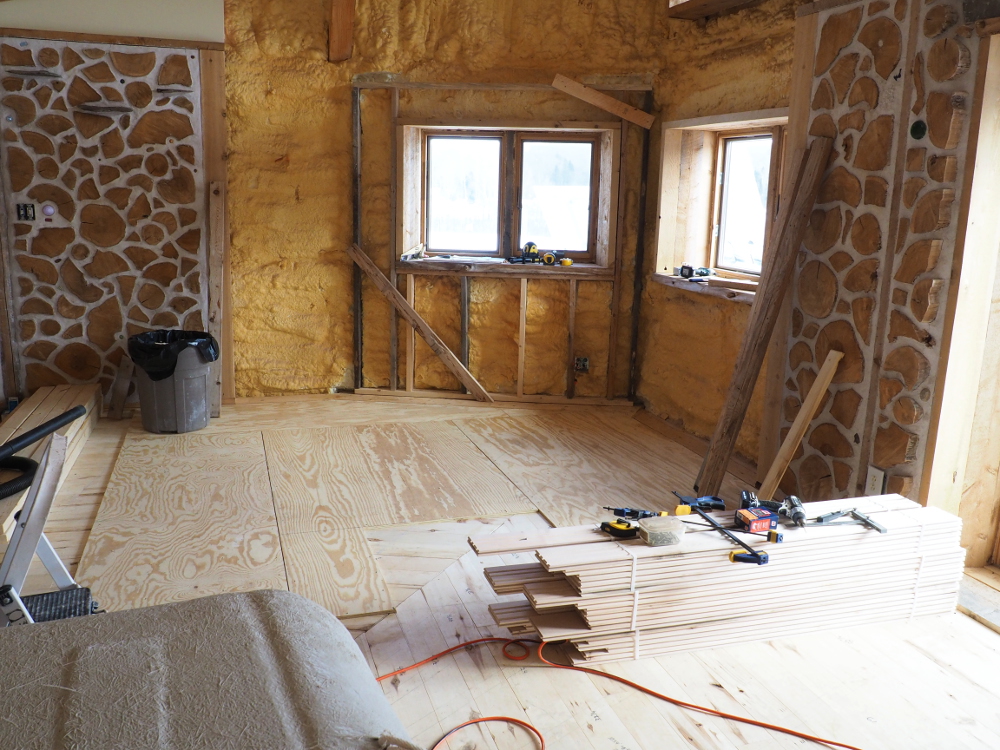
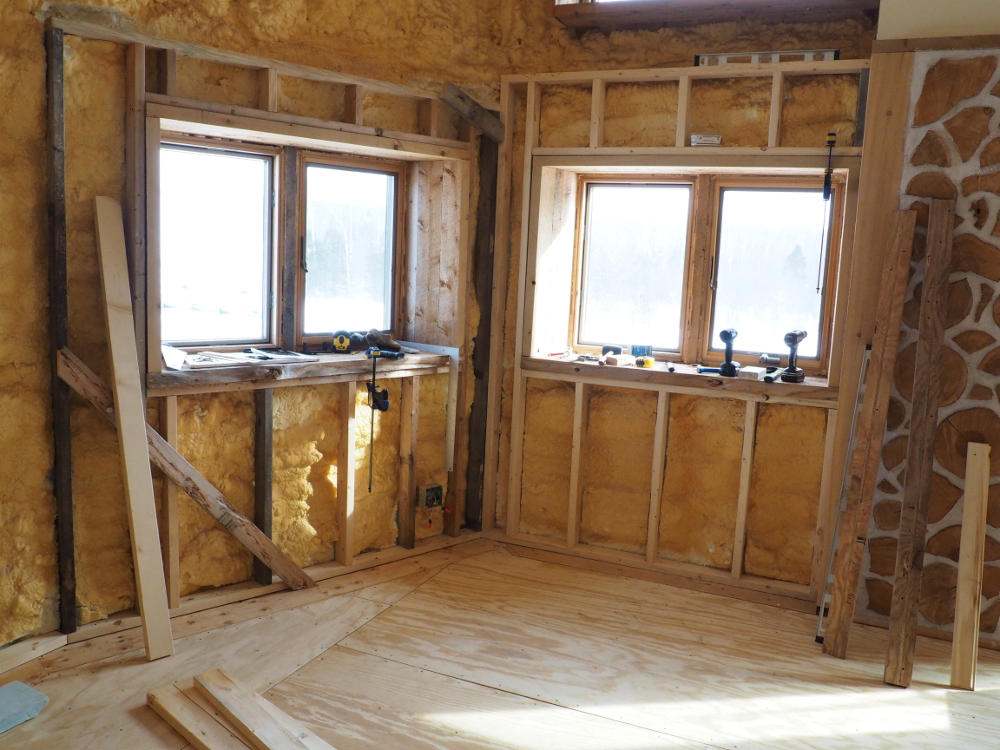
You’ll notice we did not cordwood the bathroom walls. Some people have done so without issue, but we were slightly leery of moisture plus cordwood. Also, that was a handful of walls we didn’t have to spend weeks cordwooding. After framing out the exterior walls, we put up our first real interior wall:
When we discussed what kind of shower to put in, Clare suggested one that was easy to clean. I wanted steam. Thus, we went with a one-piece acrylic shower enclosure – easy to clean and rated for steam. Also, super heavy. Between our friend Dan (thanks, Dan!), me, and the delivery guy, not to mention a quick-n-dirty sled I fashioned out of a sheet of plywood, we managed to get the unit up to the house, through the back door, and upstairs.
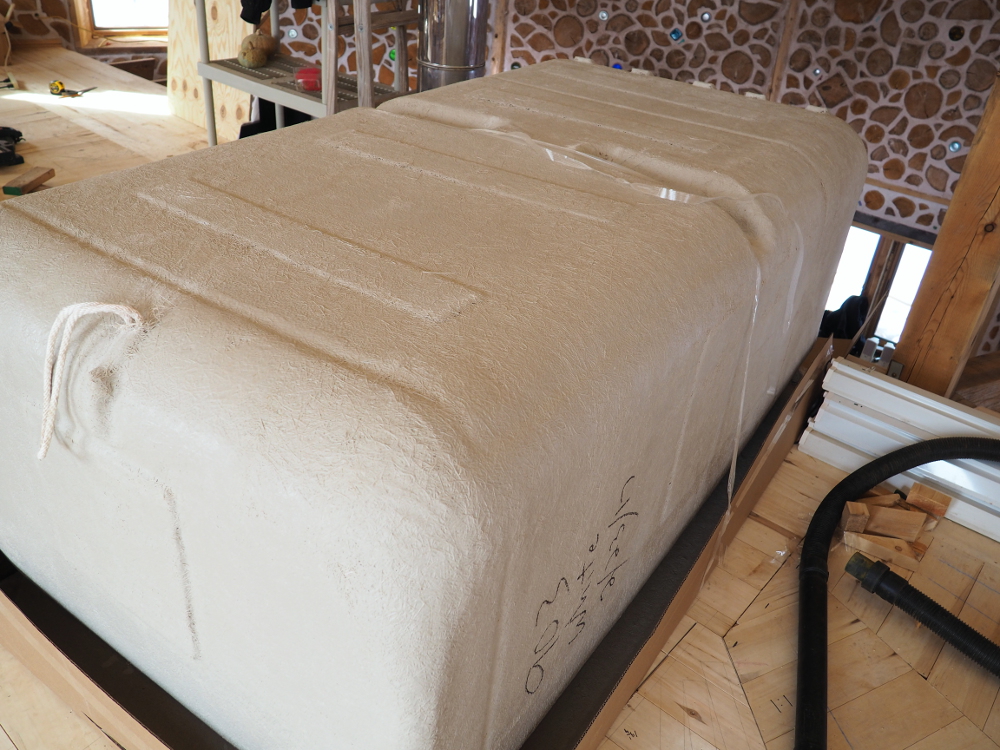
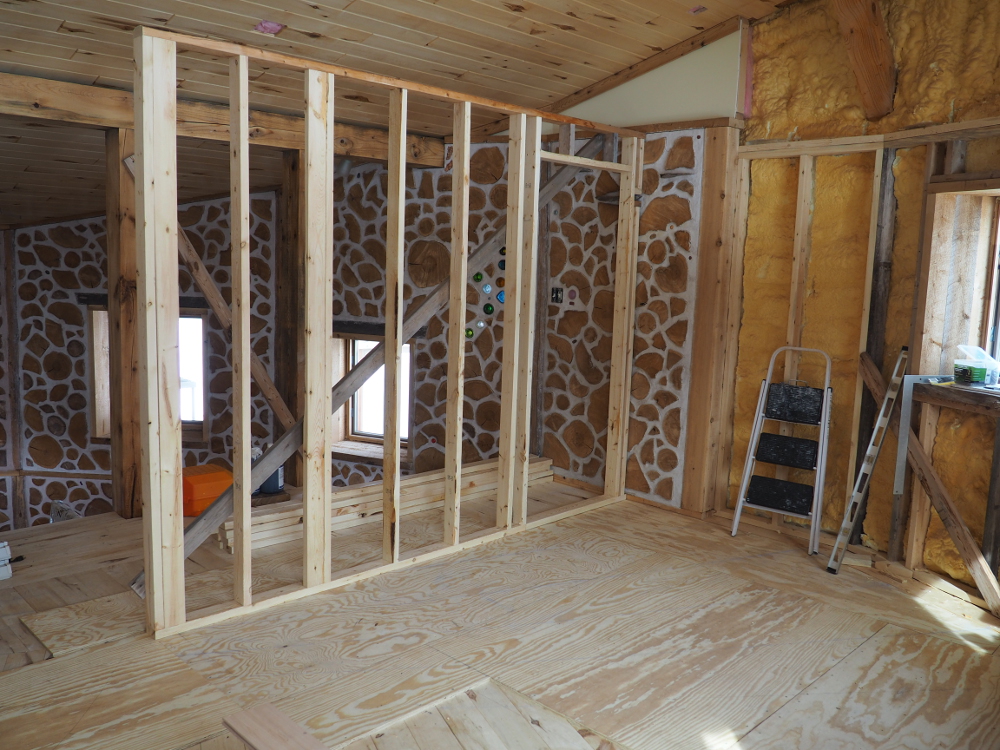
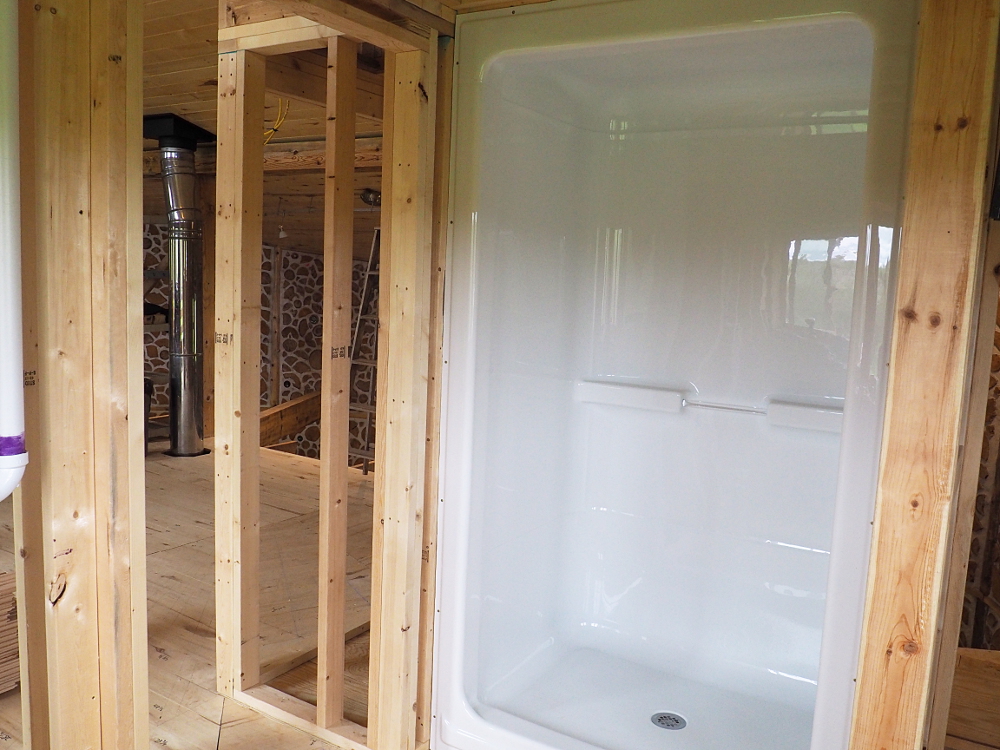
Because it’s a one-piece, we had to get it inside the bathroom before framing the other walls, since it is too big to fit through an interior doorway. Once it was inside the bathroom, we continued framing. Clare would measure the space, I would draw the wall, Clare would measure and cut the lumber, and I would assemble the walls. Before too long, we had the whole thing framed out:
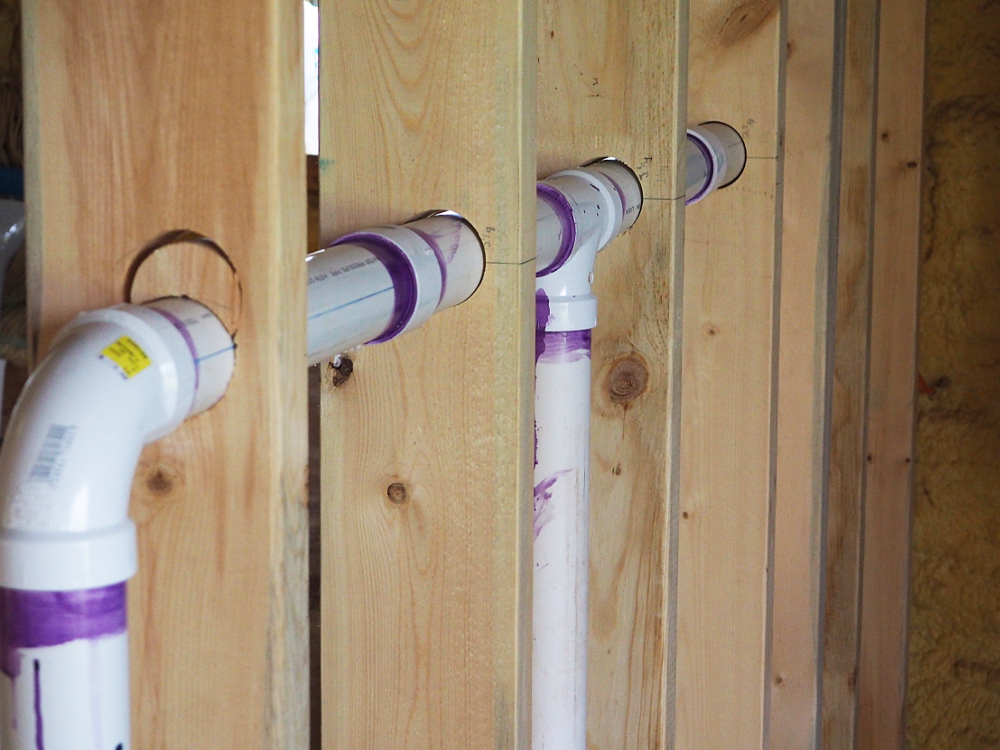
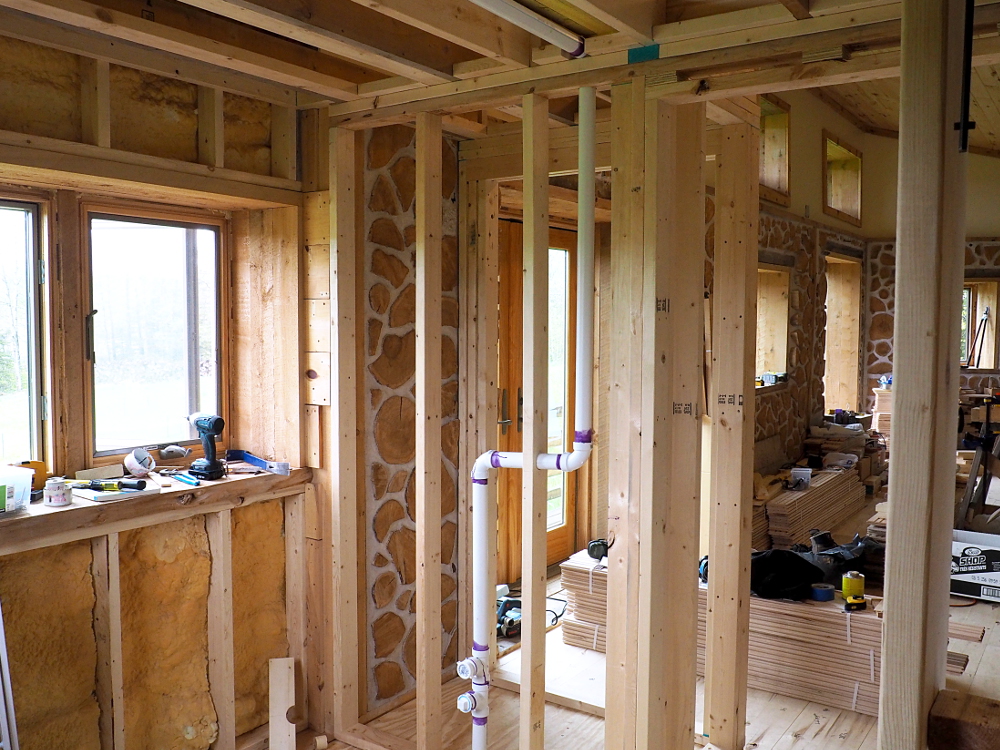
Now, time to do more plumbing. Yay! Since all we had were stubs coming out of the slab on the first floor, we had to build the interior wall on the first floor that the plumbing stack and vent runs through. Then, extend the stack upwards, along with the vent lines, and run the drain lines from all the fixtures in the second floor bathroom. This took awhile, since I had to cut and dry-fit everything first, while I figured out how to fit it all together in a sane, code-compliant way. Eventually, the first-floor drain/vent plumbing was done:
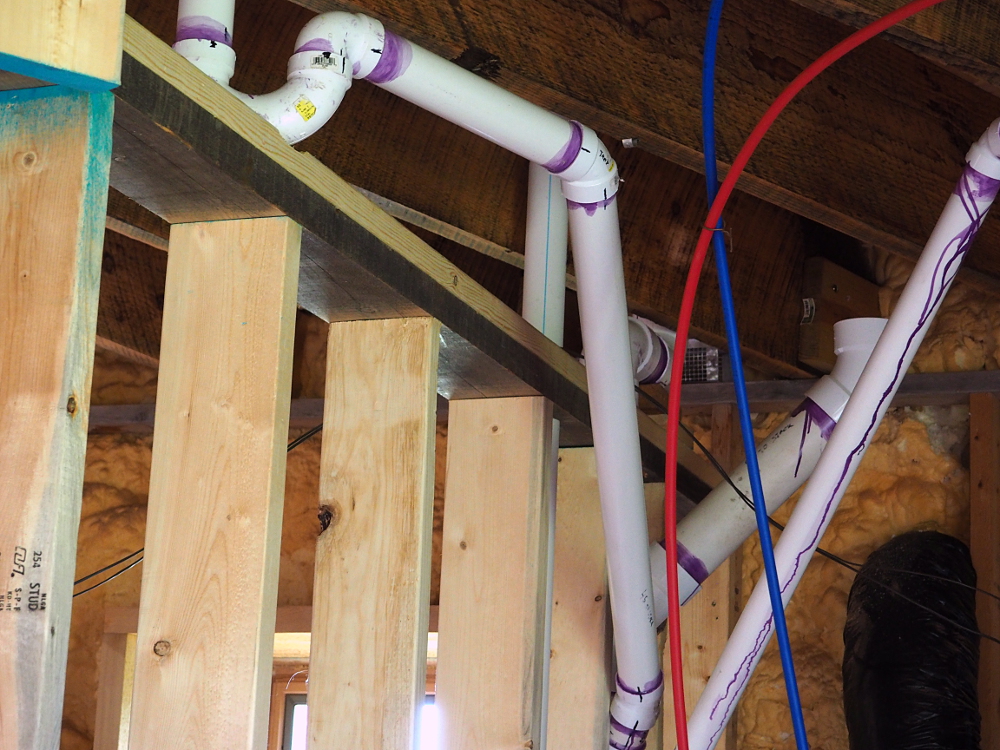
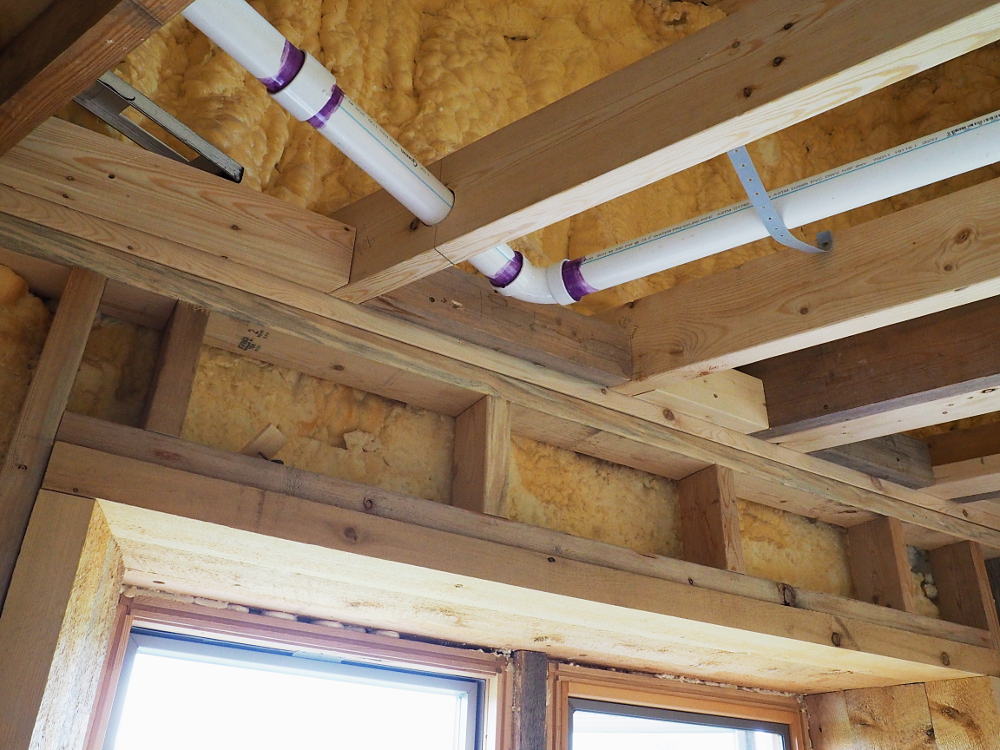
Now it was time to run the second floor plumbing:
…and vent line:
Fun! But now we’re edging into June, and we have a LOT more stuff to get done! We’re moving at the end of July, no way to avoid it since we have to vacate the apartment to let the new tenants in. Will we at least have stairs and a finished bathroom, let alone a finished floor to put our bed on? Stay tuned…