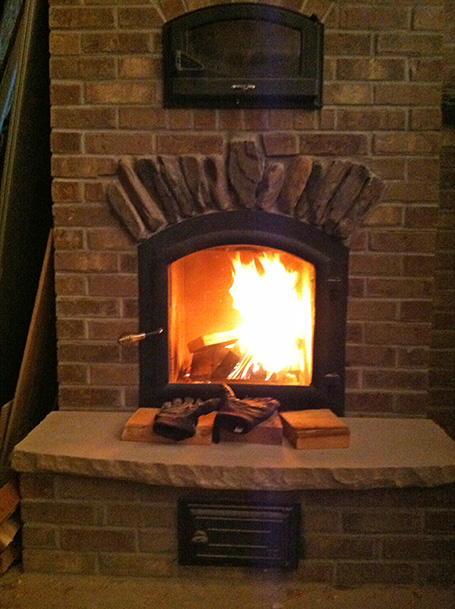
So here we are, Fall 2012, and although we’ve had the masonry heater in since December 2010, we haven’t been able to fire it up – no chimney! I was determined that this fall we would be able to set fires inside the house (and not have to call the Otter Lake Volunteer Fire Department).
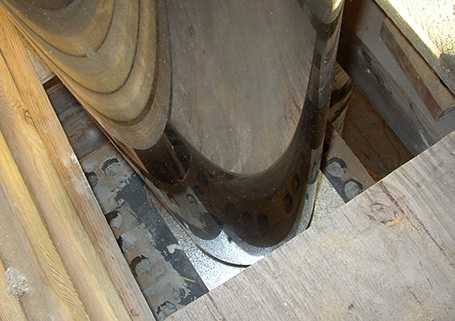
Eric from Solid Rock Masonry had built up a brick chimney to just below the second floor. We thought it would look kind of neat (and be easiest) to switch to metal chimney from the top of the brick chimney all the way through the ceiling and the roof. The first step was a transition plate from masonry to Class A chimney pipe:
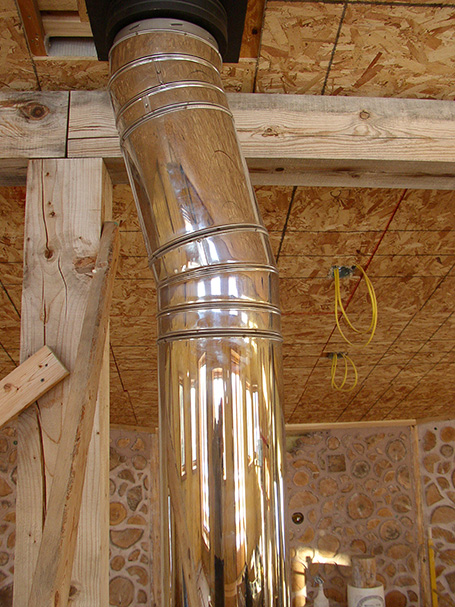
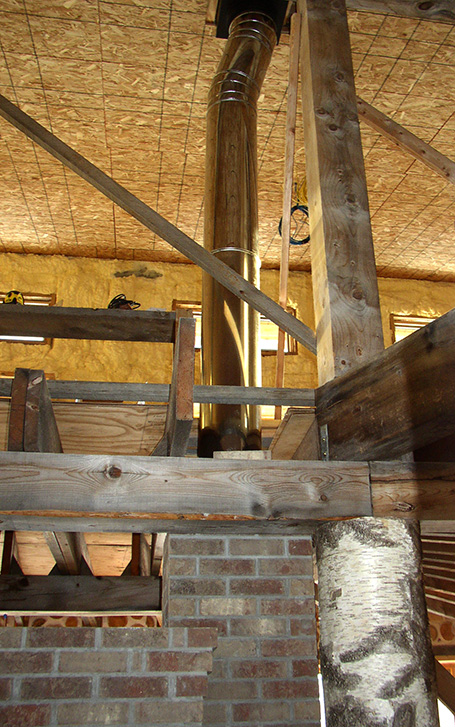
Class A chimney is double-walled with an insulating blanket between the walls. It’s safer and requires less distance from flammable materials than single-wall stove pipe. Another reason we went with metal pipe is that the chimney goes through the floor joists holding up the second floor, then through the roof rafters, and these two things are not quite lined up at Nerdwood (it’s rustic, OK?). Thus, we had to put a bit of an offset in the chimney to move it over about four inches.
Here’s how the inside looks. Just ignore the cross-braces that we’re leaving in until we put up the railing.
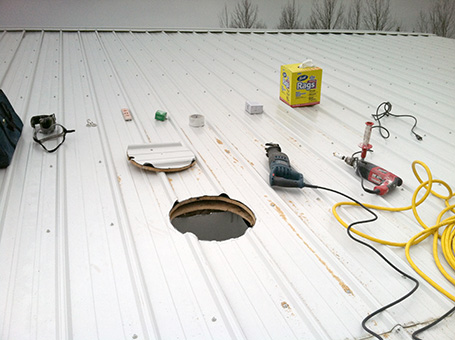
So far, so good. Now, Clare’s favorite part, “Greg monkeys around on the roof.” It was kind of sickening to cut a big hole in our nice metal roof, but it beats having the house fill with smoke.
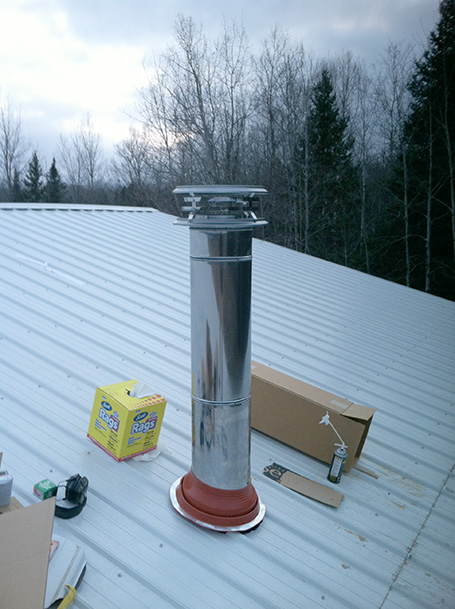
This part was a little bit nerve-wracking, since it was late November and at any time it could start snowing and not stop for a month or two. I worked as fast as I could, adding the rest of the chimney sections, then using a form-fitting rubber boot as the first level of flashing.
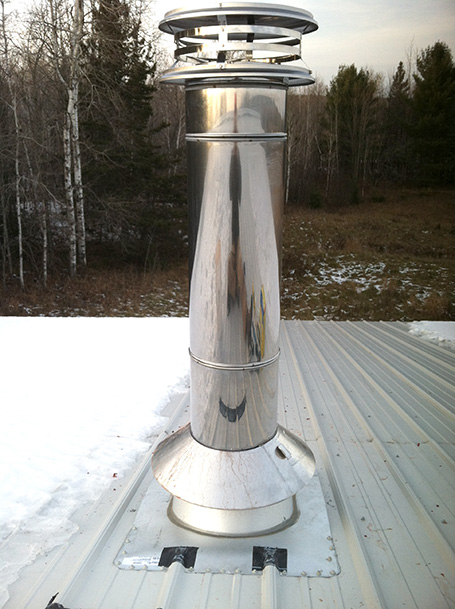
After caulking and screwing this down, and letting the caulk cure, I added a second flashing, this one metal. Notice the minor amount of snow that fell in the intervening few days:
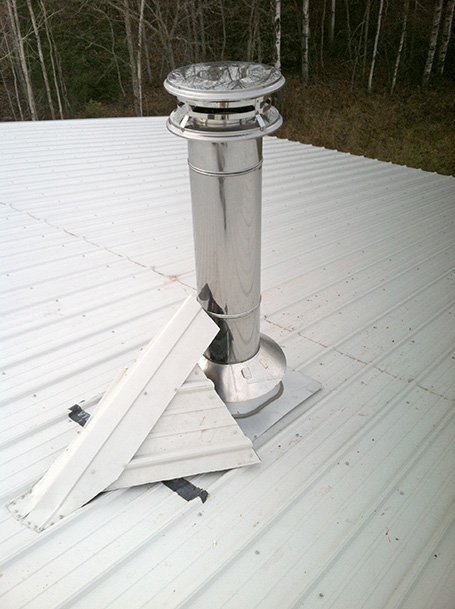
Finally, to protect the chimney from a freight train of snow sliding down the metal roof, I used some extra roofing, plywood, lumber and rubber flashing to build a “cricket” to divert the snow:
A day or two after this, it did in fact snow quite a bit. But, as you can see from the first picture, we were too busy enjoying our first Nerdwood fire to worry about that.
