What’s He Building in There?

“What’s he building in there?
What the hell is he building in there?” -Tom Waits

As Thanksgiving weekend, 2010 approached, we knew that two important things had to happen. We needed running water inside the house, and a way to keep the temperature consistently above freezing. This had become a matter of some urgency because a contractor was coming from Duluth with his crew to build our masonry heater.

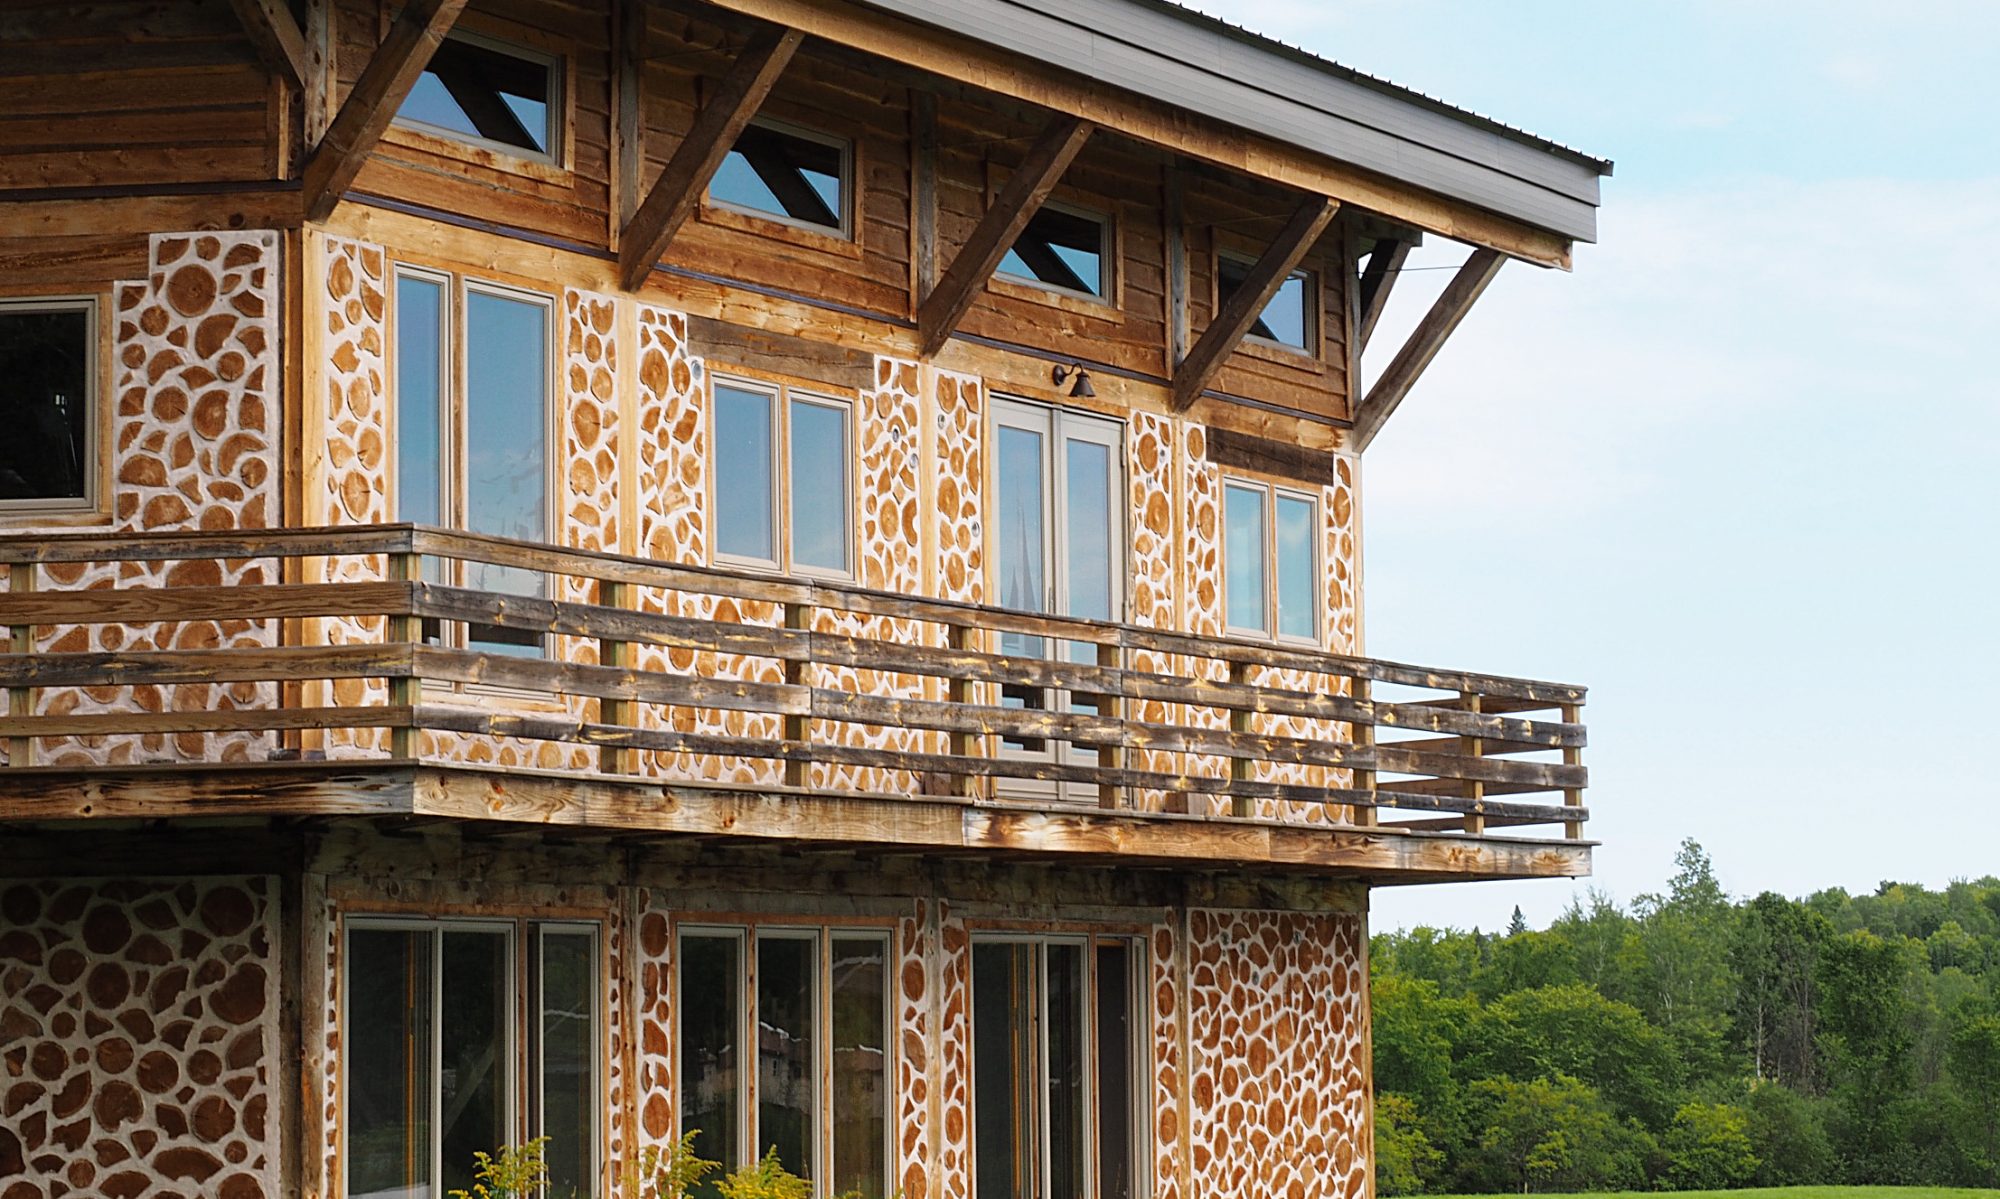
We had purchased the masonry heater kit the previous summer at the Midwest Renewable Energy Fair (as mentioned in Greg’s previous post). After wrangling the huge heavy cement blocks up to the house, we decided it would be best to leave the actual assembly to an experienced mason. Fortunately, we had also met Eric Moshier, a contractor who had built many masonry heaters using the Temp-Cast kit, at the MWREF. He was also able to cast additional parts to add a bread oven to the unit. He was willing to come out to the Keweenaw to do the job, so we scheduled the work to be done just after Thanksgiving. We selected and ordered bricks according to Eric’s directions, and collected some beautiful river slates for the masons to incorporate into the brick facade.

From the Slate River, of course. Where else?

We needed running water inside the house. Once we had water, we could hook up the in-floor heating. We spent the better part of Black Friday on a trip down to the nearest Big Box Home Improvement Store in Iron Mountain to purchase a hot water heater. There was just one problem: locating the water line.

Back when Frank Beauchamp poured the foundation, we had him dig a trench and lay in a pipe from near the well up through the slab and into house. So, in theory, it was just a matter of digging down about six feet or so, locating the pipe, and running a water line through it from the well head to the utility room. Greg started digging at the place that had been marked with a post four years previously. And he kept digging further and further into the cold mud. No luck. Eric’s crew arrived, and Greg still hadn’t been able to locate it. It was time to improvise.

To mix their mortar, Eric’s crew collected water from the melting snow running off the roof. Our many plastic buckets were once again put to use. Greg rented a propane heater to keep the house warm enough for the mortar to cure properly. Work on the masonry heater went quickly. They put the kit together, faced it with brick, and added some slate accents.

Masonry in progress.

We were certainly impressed with the results.

Leave it to the professionals.

The propane heater had bought us bit of time, but it was vital that we get the water running and the in-floor heating system flowing. Greg called Frank, who came out with his backhoe and dug an enormous pit until he finally located that pipe. Greg and I were able to come out after work and snake a water line through the pipe into the house, and electricity from the house out to the well head. This was all very exciting to do in the pitch dark, with snow flying, giant piles of freezing mud everywhere, and a gaping pit in the ground in front of the well. Anyone observing must have wondered what on earth was going on.

“What’s he building in there?
We have a right know.”

Foam Power

Before we could have the contractor come to spray the walls with insulation, there were a few more things to take care of. We had to plan for electricity and water infrastructure before winter weather set in. We hired an electrical contractor to run metal conduit along the walls of the house for the electrical wiring. This conduit would ultimately reside in the insulation layer, between the two cordwood layers.

Electricity!

We also cut some baffles made of corrugated plastic to place between the roof joists above the walls.

Simply baffling.

Once the conduit was in place, we had a local contractor, Superior Polymer, spray the walls with open cell foam. They completed the job very quickly, in under a day. It was a really striking difference to walk into the newly insulated house.

The contractors were very thorough, and generous with the foam. I mean, they sprayed the bejeezus out of the place. It was like walking into a foam cave. It was immediately much warmer, and incredibly quiet inside. Although I knew it was only temporary, it was a bit sad to no longer see cordwood on the inside.

The walls, white with foam.

Yes, that's a lot of foam.

Our next important item was to get running water inside the house. This would be necessary in order to heat the house using the in-floor heating system.

Inside Job

When we left off in October of 2010, the exterior cordwood wall was finally complete, and Matt the carpenter had finished off the top level with natural edge cedar lap siding. It was time to turn our attention to the interior.

On the outside, looking in.

The inside of the cordwood walls were to be sprayed with five inches of open cell foam insulation. Extensive prep work was required before this could happen. First, the window and door boxes had to be extended. The final thickness of the walls is twenty-one inches. We had decided to flare the sides of the window boxes outward, to give a wider opening on the inside. This would allow more light into the house. Once again, our experienced carpenter Matt was instrumental in getting this part done in a timely fashion.

With Matt’s table saw, we were able give rough cedar boards an angled edge. Then we cut them to the correct sizes. Greg and I did most of the cutting, while Matt did most of the assembly. We sealed up any gaps between the windows and the window boxes with cans of spray foam from the hardware store. Spray foam is sticky, nasty stuff, and it takes some time to get the hang of working with it.

CAUTION: table saw.

Once the window boxes had been extended, we had to protect all the windows by stapling sheets of plastic over the window boxes. This would prevent any stray foam from sticking to them during the insulation job. We also covered all the bottle ends with plastic baggies held in place with rubber bands.

October 2010 was a real turning point. For the first time, the house truly had an inside and an outside. The weather was starting to turn chilly, and we wanted to be able to keep it warm enough to continue working on it during the winter months.

Some late autumn asters.

New Year’s Blog Resurrection

Winter is a good time for a long story.

Happy New Year, everybody! Clare here. I am aware that this blog has sadly languished for months, and the information about our progress on Nerdwood is now over a year out of date. Greg has simply been too busy to keep up with it, as he is bogged down with work and school responsibilities, which means reading papers with names such as A Fast Failure Detection and Failover Scheme for SIP High Availability Networks and Experiences in Building A Multihoming Load Balancing System. As you can imagine, this does not leave much time for the whole blog endeavor. So I will pick up the torch, and try to cover what has been happening over the past year.

We’re still here!

Yes, it’s true, we haven’t disappeared into a black hole or something, I’ve just been very busy and waiting for things to slow down so I can post the latest Nerdwood news. Since things are unlikely to slow down anytime soon, I’ll try to get up to date over the next month or so.

I feel it closing in

Day in, day out, day in, day out...

Well, we survived Peak Log and Peak Sand and we laid up the last log in the outside wall on October 6. Whoooo!

The logs we just cut and put in the solar log-drying kiln were plenty dry after a month in there. We worked feverishly the last two weeks since we were having visitors come in on the 8th. While they were touring the house on Saturday we popped open a bottle of bubbly to celebrate the last outside log. My sister and brother-in-law protested, saying they had not done any work on the house. Madness, I say! You needn’t have lived another’s life for a year to celebrate their birthday, right? Luckily they relented and enjoyed a toast to Nerdwood, otherwise I would’ve been a bit tipsy on the way home.

While all this was going on, Matt has been working on framing the third level, including installing windows and housewrap, and flashing the bottom:

That's Clare's story, and she's sticking to it.

Our neighbor sawed up some cedar logs into one-inch thick planks with a natural edge. We dried them and are using them as siding on the third level. I think it looks pretty cool with the cordwood:

I generally side with wood

Now we can concentrate on the many many tasks necessary to get the house insulated and heated so we can continue working on it this winter.

We missed a mushroom in the Winecap Stropharia bed, and it grew enormous before we noticed it:

Mushroom, mushroom. Snaaaaake! Snaaaaaaaake! Oh, it's a snake!

Peak Log!

Sure, Peak Oil is a problem, but we have experienced Peak Log here at Nerdwood. As of July 2010, the pile of logs we have been drawing from – cut in 2003 – are getting more and more rotten. We have to discard more, the ones we use take longer to clean, and we’ve realized that we might not have enough to finish the house.

To help speed things along and to ensure we have plenty enough logs, we asked our neighbor Emanuel (who has a sawmill and has been providing us with cedar boards for the window boxes) if he could help us find five or six cords of recently-cut cedar. Not only did he find us some, he delivered it to our house as well.

We hired a couple of students from he nearby University (we called them Nerdlings) to come out and peel the new logs for a few days, thinking the best way to keep them from rotting would be to peel, cut, split and stack them as quickly as possible. This is what we should have done with the initial pile of logs but we didn’t since we couldn’t wait to get started on the house.

Unfortunately, peeling the new batch of logs ranged from somewhat difficult to impossible. They had been cut in February and the bark was just cemented onto some of them. The Nerdlings peeled the less-cementy logs and did a bang-up job of it. We then cut them and put them into the kiln. While all this was going on, we continue to cordwood the upper level in the back of the house:

The tall walls are all full tall walls

It’s now early September and we have a LOT to do if the house is to be closed in, insulated and heated by early December, when the snow usually starts to get serious around here. We hired our friend Matt to help with a bunch of carpentry tasks. Here he has framed out part of the top level:

'Well there there, Mrs. Black, uh ...' 'Well, wedge shapes.' 'Mrs. Wedge' 'everywhere' 'There there, back on the couch.' 'Oh, what does it mean?' 'Er, rectangular, black, and with wedge shapes inside.' 'Oh, I see them everywhere, everywhere ...'

We also picked up some storage tanks. we plan to put them under the porch and direct rainwater into them to use to irrigate the garden and possibly the orchard in times of drought. They had been used to hold garlic-flavored oil for industrial food production (i.e., frozen pizza) and are pretty garlicky right now:

Is it about my cube?

So now we have logs drying in the kiln and we’ve just about run out of wall-ready logs. In addition, the rain has been frequent and I’m getting a bit worried about “Peak Sand.” Can we get the outer wall cordwooded before October’s frost? Stay tuned…

Blocks and blocks

In an effort to keep out of the blazing sun, we decided to pick up cordwooding in the back of the house – it’s the north side and is well under the large rear overhang. Two things make this area particularly difficult, though. First, there are no windows at all here, since from an energy efficiency standpoint, you want to minimize the number of north-facing windows. Thus, these walls will take a LOT of mortaring to finish. Second, there is no easy access like there was in the front; no deck on the outside, no second floor on the inside. We’ll have to work on scaffolding and haul all the logs and mortar up by hand.

Fortunately, a friend at work had some extra scaffolding she was not using for a while and loaned it to us (thanks, Michelle!). Fourth of July weekend, we started the Big Log Slog:

Scaffolding? Or old scaffing?

Last month, we went to the Midwest Renewable Energy Fair in Custer, WI. In addition to seeing cordwood mavens Richard and Becky Flateau, we also found a vendor who used to carry the masonry heater kit we have been planning to install in Nerdwood. He still had one lying around and was happy to let it go for a decent price. As I found out with the mortar mixer, nobody wants to deliver anything big to a job site unless you have a forklift there to unload it from the truck. Definitely not the case here! Once again, I had to have it delivered to work where there is a loading dock. The kit is made up of about forty pieces cast from high-heat cement, each weighing from about fifty pounds to about a hundred.

As the kit sat on the (luckily very-little-used) dock, each day we would load ten or so pieces onto the pickup drive them to the house, and schlep them inside. Naturally, this all happened in the middle of a heat wave, adding to the fun of carrying heavy, oddly-shaped, brittle, slippery blocks around. Here they are, getting underfoot:

Blocks on blocks are all around, neon lit for silent sound

Aside from the this heat wave, the weather has been excellent for the garden, raining at least a couple of times a week. Butterfly weed in bloom:

Go ahead, stuff your proboscis!

Forward, Outside Edge

Once again, the weather has warmed up enough to cordwood without fear, so we pick up where we left off last fall; namely, the second floor. Here we are starting the bedroom wall – pretty quick since it’s mostly door. Notice that we nailed strips of wood to the door frame where it gets filled in with logs and mortar We also put these strips on the timbers. This helps “key in” the mortar, locking the cordwood wall to the frame – a “best practice” used by many cordwood builders these days.

Welcome to the Wall-door Hysteria

By the end of June, we’ve finished the front face. The open spaces above the cordwood and below the roof will be rough-edge cedar siding; it’s just a bit too high to lay logs.

Showing a unified front

Some of the lupin seeds we’ve been scattering near the house are starting to blossom. I say, let nature do some of the work of decorating the yard.

Right, now my fine friends, no false moves please. I want you to hand over all the lupins you've got.

Construction Time Again

This past winter was surprisingly brief. By mid-March the ski trails were mostly bare, as opposed to years past when we would be on the trails through early April. So, back to Nerdwood. Surely we’ll get it closed in this year! We’re going through logs at an alarming rate, though. The pile that was three years old in late 2006 is getting more and more rotten as it sits out. If we had it to do again, we would de-bark, cut, split and stack the entire pile of logs first so they would dry out quickly. Since we haven’t built a cordwood time machine, though, we’ve been cutting up what we can this spring and looking at obtaining some additional, fresher logs to make up for the rotters.

Someone Clare works with had cut some cedar this spring and offered it to us (thanks, Bill!), so we’ve been stopping by his place for pickup-truck loads, debarking and cutting it up straightaway, and putting it in the kiln to dry. We’ve also been expanding our food production. We love mushrooms, so we’re cultivating some varieties this year. Here’s a mushroom bed, with a potato bed to the left:

No badgers, but occasional snakes

We also put in some fruit trees; someday there will be a nice orchard in front of the shed. We had to put the trees in “jail” since deer munched the leaves almost immediately after we planted them:

Tasty cherries? Or world's most enticing deer food?

Starting in June:

More Cordwooding!