Did I mention logs?

It's better than bad, it's good

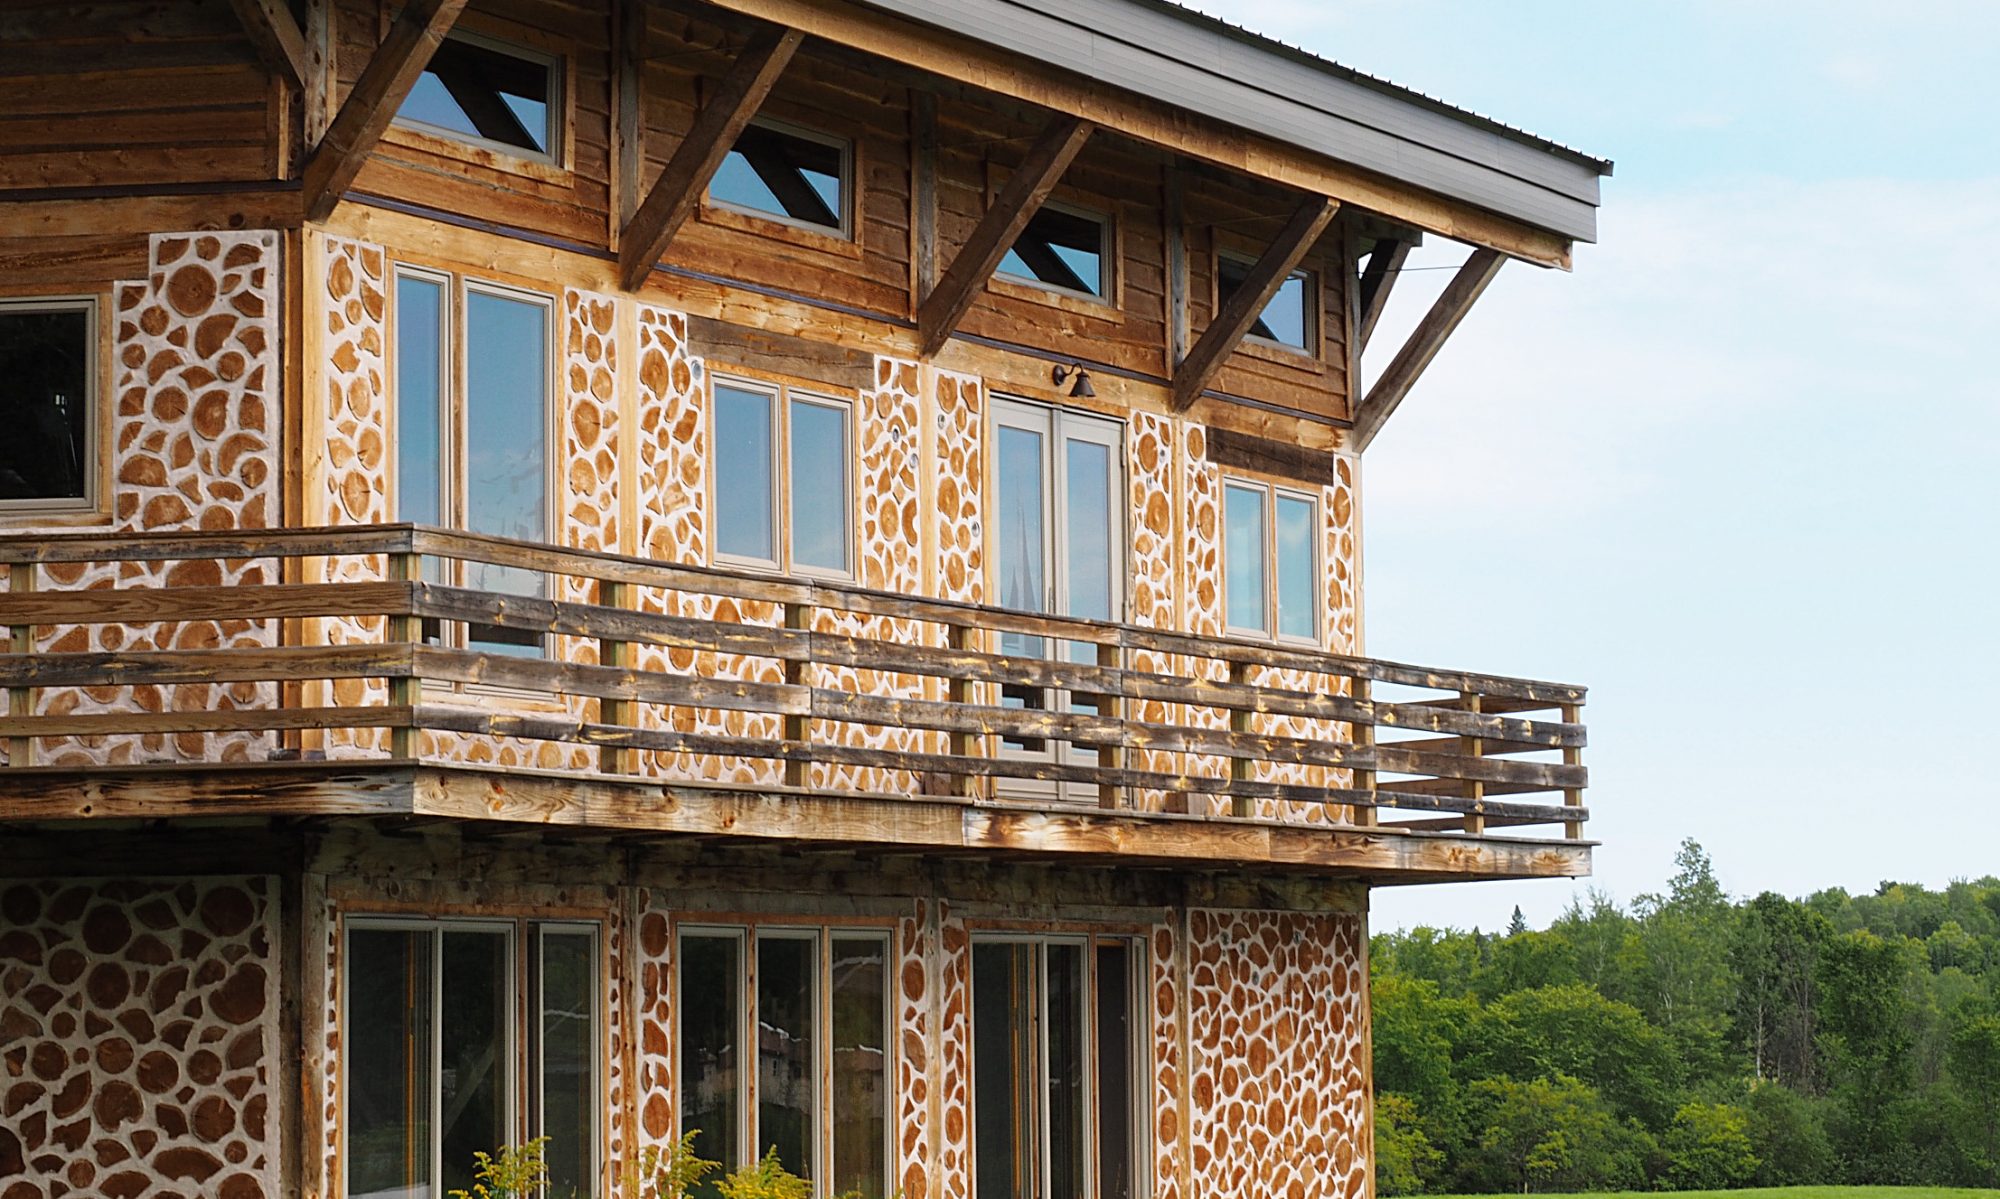
Okay, you can’t have a blog without “log.” One of the many useful features of our shed is the greenhouse/wood drying kiln in the front. As I mentioned previously, we have about 25 full cords of 8-foot long cedar logs that were soon to be pulped. In order to use them to build a cordwood home, they need to be de-barked, cut, split (some of them) and stacked for drying. This is our current task, one we will continue until there’s too much snow to get at the logs. De-barking is easy, since the logs are three years old – the bark is already falling off. Since we don’t have a splitter yet, we’re cutting and stacking them in the kiln, as well as under the shed’s overhanging roof.

The Logs of Tomorrow

We’re not exactly lumberjacks, so after three or four hours of log wrangling, chainsawing and stacking, we’re done for the day, and beat, too. If we can cut 4-5 cords this season, we’ll be happy. Some of the logs have a bit of dry rot, especially in the center (very common in northern white cedar), which will have to be removed before we lay the logs up in the walls. Fortunately, quite a few of them are, as we say in the 12-sided solar cordwood house building scene, real choice ones.

Let’s see what’s on the Slab

Now, to just pop a house on this thing

On September 26, Frank Beauchamp poured the 4″ thick floor slab. The weather was perfect for concrete work – cool and damp. He waited a few days for the concrete to cure, then came back out to cut control joints. Any slab much larger than 12′ X 12′ will eventually develop cracks, so the idea is to cut control joints to make the cracks occur where you want them to, preferably under walls.

Frank also finished contouring the earth around the foundation, making a nice smooth slope down to the original grade. Now the house will sit high and dry and we can garden on the slope. He also levelled the driveway and dumped a couple of loads of gravel on it. The “driveway” is part of an old railroad grade that was built in 1913 but never completed. It runs through our land and many others’ as well. Eventually we hope to build a garage next to the driveway, but it will be some distance from the house. We’d rather walk a little ways to the house than have a huge driveway tearing up the land.

Makes a great skating rink, too.

You may notice water pooling up in a spot on the slab; this is the floor drain in the utility room. Frank sloped the floor in this room towards the drain. Overall, a great job by Frank. Now that the foundation is finished, we can cut logs the rest of the year. Fun, fun!

Positively Radiant

It's a series of tubes

We’re coming into the home stretch now with the foundation. After the plumbing was inspected, we gave Frank the go-ahead (goat head!?) to continue. He poured gravel on top of the plumbing and covered it with sheets of pink styrofoam insulation. The trick here is to insulate enough to keep the concrete floor warm, but still allow some heat to bleed into the ground underneath the house to help prevent the ground from freezing, which would crack the floor. Dave Bach suggested 4″ (R20) of foam around the perimeter, and 2″ (R10) in the center.With his usual dispatch, Frank completed the job in a couple of days, pausing only when a torrential downpour hit on September 22. The next day, Clare and I started stapling pex (a type of plastic) tubing down onto the foam. The pex will be embedded in the concrete floor slab. During the winter, hot water will be pumped through the pex, giving us radiant floor heating. Every single person we have talked to who has radiant floor heat has raved about how great it is, and in our limited experience in other people’s houses, it seems really nice.

Sunset over pex

The two-by-fours in the picture are there to mark rooms – we thought it would be unnecessary to heat the pantry, and we wanted extra heat in the bathroom. The pexing went pretty quickly; we finished in a few days. When we were done, we pressurized the tubing (50 psi) to make sure it wouldn’t leak into the slab when we filled it with water. A few turns of the wrench, and it seemed to hold just fine. Now to call Frank again for the final few steps.

The Piper at the Gates of Dawn

It's kind of Seussian, eh?

The next step in the process is to do the under-slab plumbing. Most of the plumbing will be above the slab and will be done after the house is closed in and the interior walls are built but not drywalled.We ran the lowest portion of the drain pipes and left stubs sticking out of what will be the slab. We then ran a black perforated pipe through the middle of the house for radon mitigation (or “Robot Mitigation” as we started calling it. I have no idea why). This may not be necessary, but it’s cheap and easy to do at this point.

We also ran a 6″ diameter pipe from the outside to where the masonry heater will be built. This provides outside air to the fire, which, along with the flue/chimney, creates a sealed combustion system which won’t depressurize the house when we light a fire. It also will prevent carbon monoxide from backing up into the house in any circumstance.

Ow! My knees!

This part was pretty tricky – we had to be sure our measurements were correct, or we’ll be rearranging the walls to hide the plumbing! Also, neither of us has plumbed a house before, although I’ve done remodel plumbing. I was a bit nervous as this part required an inspection before we could continue. Fortunately, the inspector’s only beefs resulted in about 30 minutes of work fixing the issues.All told, the plumbing took about three weeks working weekends and some nights. I think Frank was starting to wonder if we would ever finish, since a master plumber would have had it knocked out in a couple of days.

Giant Lego blocks?

This photo shot at Batman Villain Lair angle

On August 26, 2006, we started cutting and assembling the ICFs. What the heck are ICFs, you ask? Good question. Glad you asked. ICF stands for Insulating Concrete Form. Basically, instead of using boards to form a cavity to pour concrete into, you can buy these blocks which are two pieces of styrofoam with plastic webbing in the center that holds the styrofoam together and gives you a place to snap in the reinforcing rod (rebar). They interlock at top and bottom like Legos.Because of the odd shape of our house, we couldn’t get ICFs with premade corners. We used straight sections and cut the 11.25 degree angles with guides we built.

The foundation (including footings) is only 28″ deep, not nearly to the frost line. In order to achieve this, we designed it as a Frost-Protected Shallow Foundation (FPSF). This style of foundation is very common in Scandinavian countries and is gaining popularity in the US due to the lower cost of excavating and less concrete use.

Those ICFs aren't going anywhere...

After we cut and assembled the ICFs we braced the corners with wire mesh and put sleeves through the walls to allow for utility pipes and wiring. We also made openings for the doors and sealed up all the gaps with expanding foam. The whole thing took us about a week, and Frank came back out and poured concrete into the forms. He then dumped more sand in the center and compacted it down.

So, another day or two of work for Frank, and a couple of weeks of work for us. Did I mention we are not trained professionals?

Bowl of sand/footings

Nice backhoe!

On August 21, 2006, Frank Beauchamp, our foundation contractor, broke ground. Because we didn’t have a level spot anywhere near where we wanted the house, he had to do quite a bit of earthmoving to make it level. Basically, he used the existing topsoil to make a big bowl, then filled it with sand from a nearby sandpit. This gives us a level site with good drainage – especially important on a site with a nearly impermeable clay layer a few feet down.

Next, Frank laid out the foundation’s corners and formed and poured the footing. As you can see in the photo, the house has a nearly semicircular shape. We started out designing it 16-sided (nearly round) but wanted to maximize free solar heating during the many cold months here up north, so we flattened the south face and ended up with the shape you see here. One of the great things about working with Frank was that he was completely unfazed by the unusual shape of the foundation.

More footings

The white tubes in the back support the wooden posts that will hold up the rear of the roof. The “pads” of concrete inside the footing support the posts that hold up the center of the roof, as well as the second floor loft. The big pad in the middle supports the masonry stove and chimney.

Frank finished all this in a week, then it was time for Clare and I to get to work…

How it started…

House site before house

This is the site we chose for our new house.

Since this blog serves in part as a timeline, I’m using this first post to play catch-up (catsup?). In general, we’ll try to post once or twice a month or so, although during the winter we probably won’t post much at all.

We bought our land here in the U.P. at the end of July, 2005. One of the first things we wanted to do was build a cordwood shed, both to house our tools while we work on the house, and to see if we could even build anything, neither of us having ever built a structure of any kind before. We surveyed the house site, had electrical service installed and were able to get the shed completed to the point where it had a roof (covered in tarps) before the snow came in December.

We spent the next 6 months designing the house, with much help from energy-efficient-house-builder Dave Bach, who we’ve designated Official Guru for this project. June of 2006 saw two milestones – our house plans were approved by the building department, and we received 27 full cords of cedar logs which had been cut in 2003 and were destined for the pulp mill. We also spent the first half of the summer finishing the shed (except for the cordwood walls), gathering foundation materials and having a water well drilled.

The real business of building the house began in August 2006, when Frank Beauchamp, our foundation contractor, broke ground. But that’s a tale for another post…