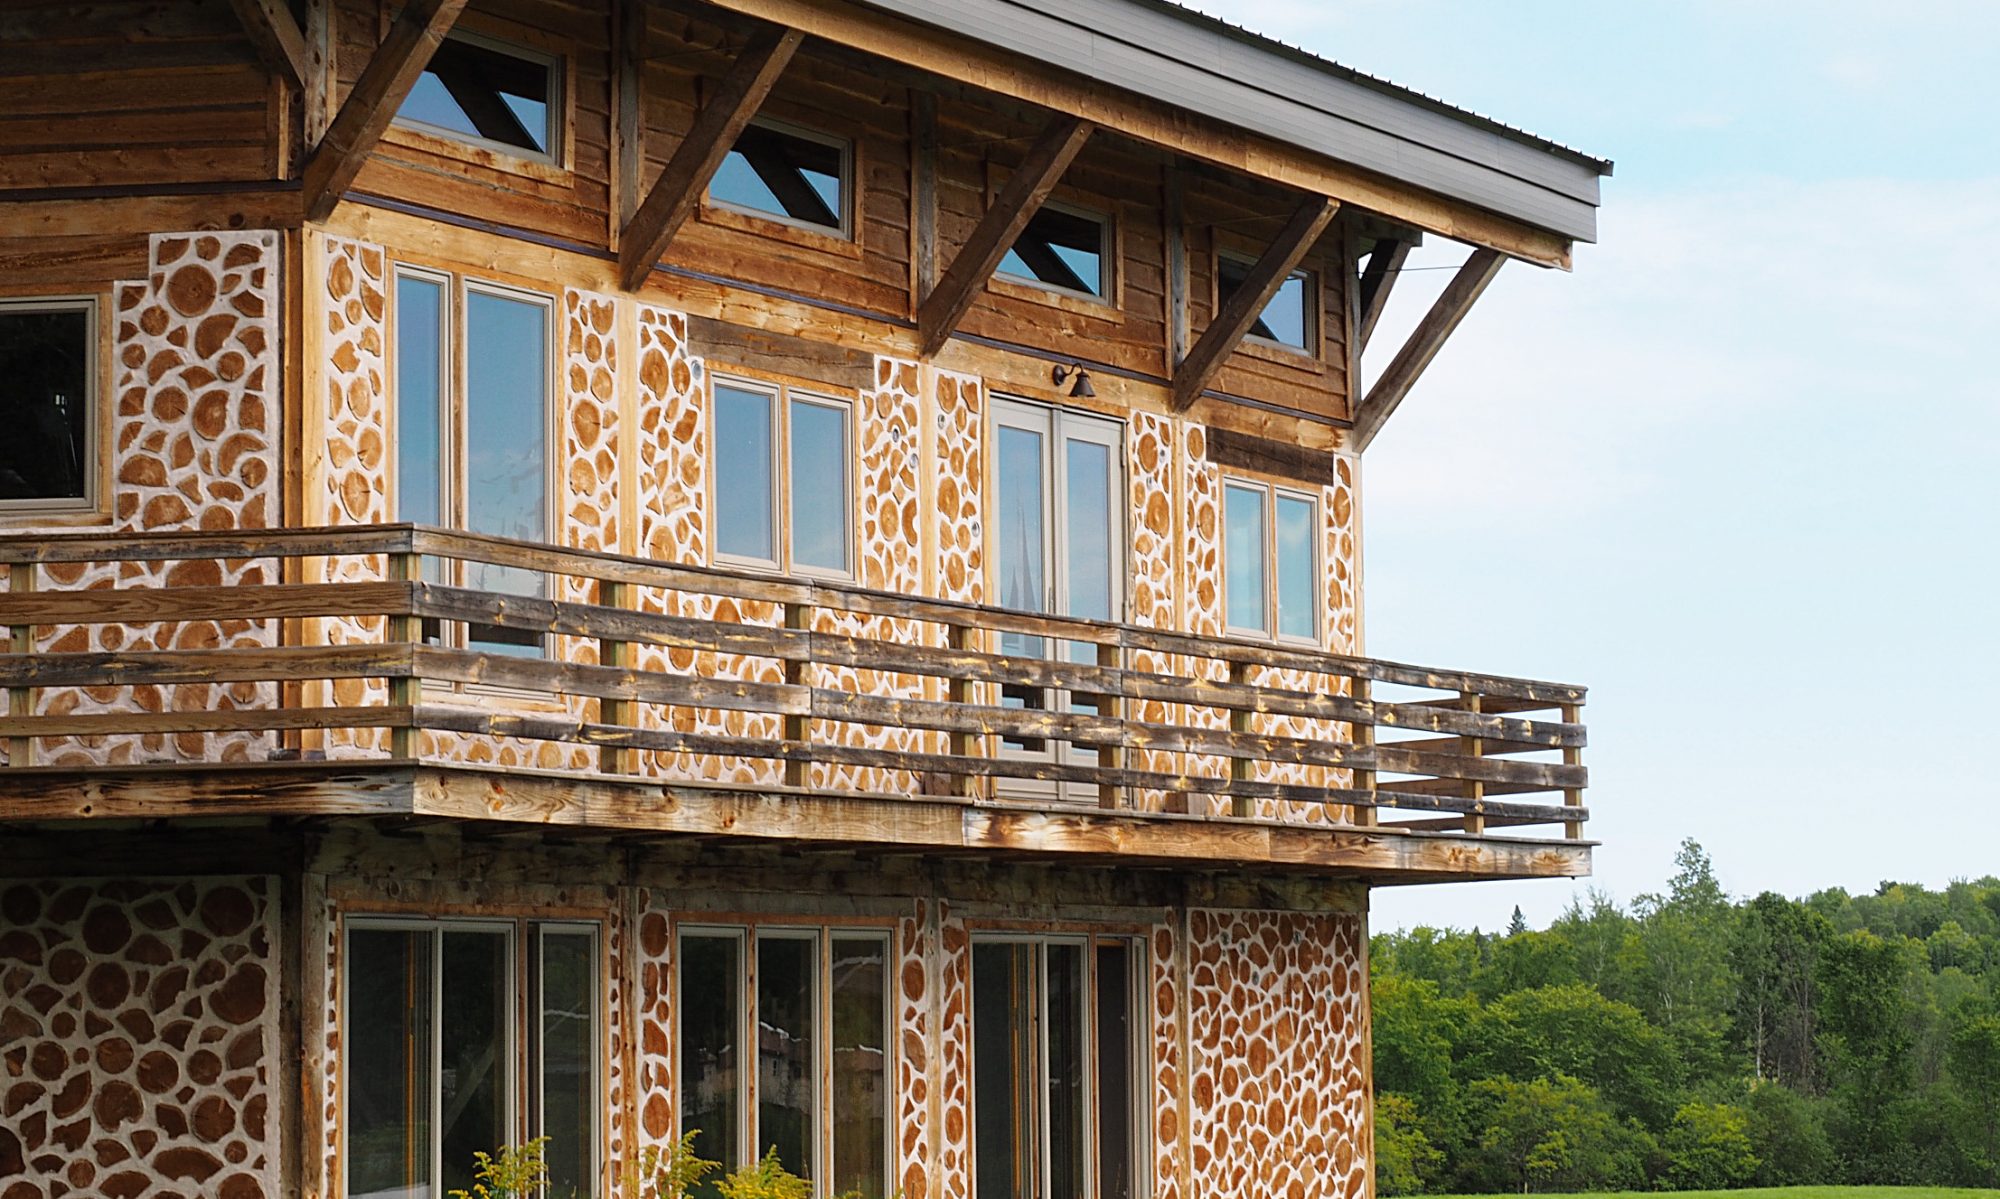
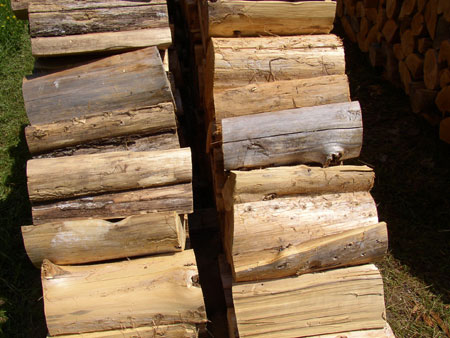
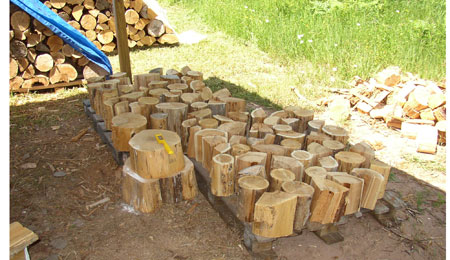
Finally, we get to the meat (and by meat, I mean wood) of the matter – laying up the logs. We’re building a double-wall cordwood house – what this means is we build an eight-inch thick cordwood wall, have the inside of the wall sprayed with five inches of spray-foam insulation, then build another eight-inch thick cordwood wall on the inside, up against the foam. This gives us a twenty-one-inch thick wall with a very high R-value (R-40+) and a tight building envelope. We’ve been told we’ll be able to heat it with “a hair dryer” and/or “a candle.” It also gives us a whole lot of cordwooding to do.
Because we have so much to do, we have to make it as efficient as possible. One suggestion lots of cordwood builders make is to get a mortar mixer – faster and more thorough than a cement mixer, and much faster (and easier on the back) than mixing by hand. We went with an electric mortar mixer since it’s quieter and doesn’t stink up the whole process. They delivered it to the loading dock where I work, and the receiving manager told me I’d better pick it up quickly, since everyone was eyeballing it. Clare and I managed to roll it off the back of the pickup truck and park it next to the house. It’s the most orange thing we’ve ever owned:

You can bet it won’t look this clean much longer! So we dump in two and a half five-gallon buckets of sand and one bucket of lime putty (half a bag of hydrated lime that’s been soaking in water at least three days) and fire it up. Five minutes later, it’s ready for the “Sploosh test.”
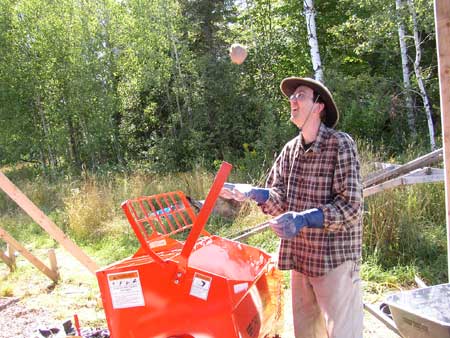
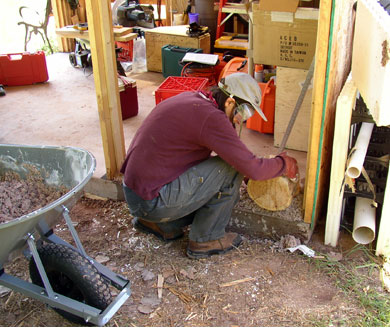
This bit o’ cordwood wisdom says you should toss a softball-sized ball of mortar three feet in the air. When you catch it, it should hold together without cracking (too dry!) or splooshing out like a cow pie (too wet!). Having never handled a cow pie personally, I had to wing it a bit. After you lay up a few batches, you get a pretty good idea of how wet the mortar should be. Finally, on August 21, 2008, the momentous occasion:
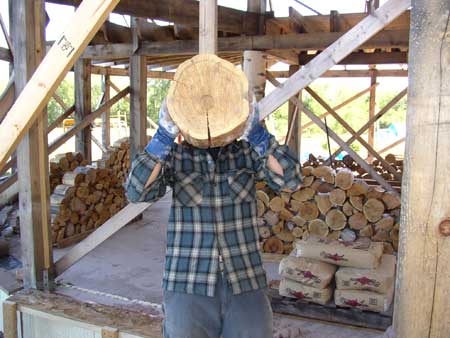
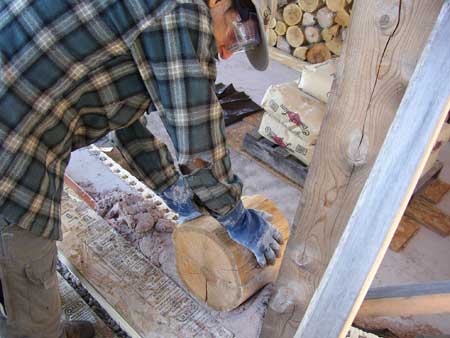
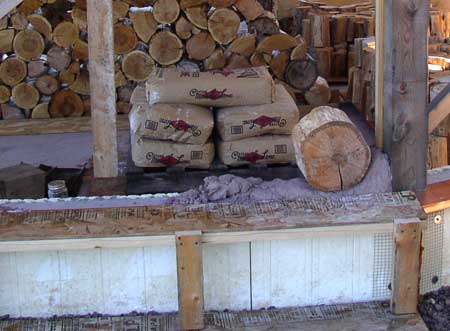
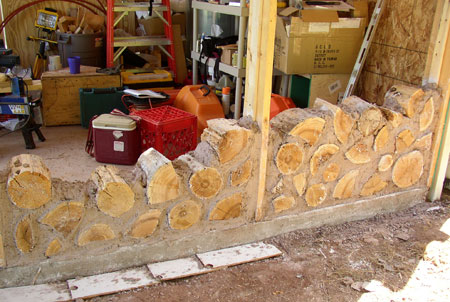
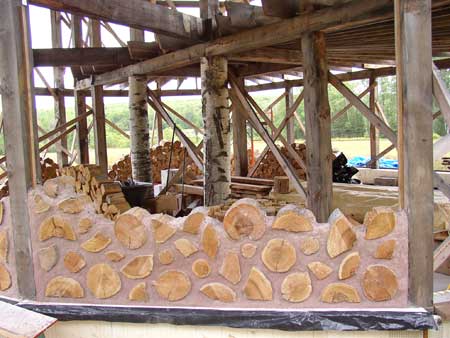
Woohoo! One log down, a million billion to go! Because the lime putty mortar sets up so slowly, we build up a couple of feet of one panel, then move on to the next panel. After a few days, here’s how it looks:
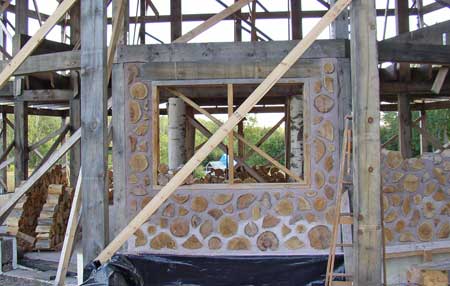
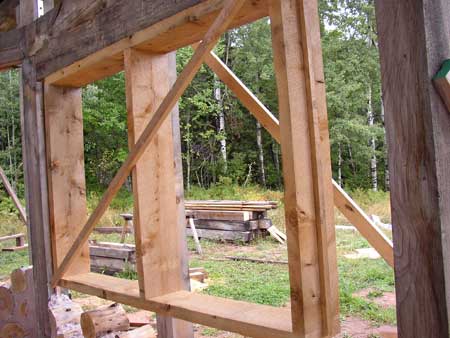
Some of the wall panels have windows, so we build window boxes out of rough-sawn cedar and fasten them in place before laying the cordwood:
We couldn’t resist the temptation to buildall the way to the top as quickly as possible:
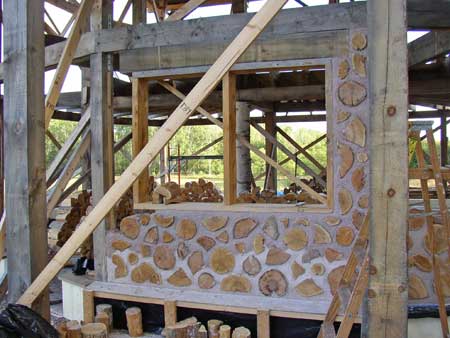
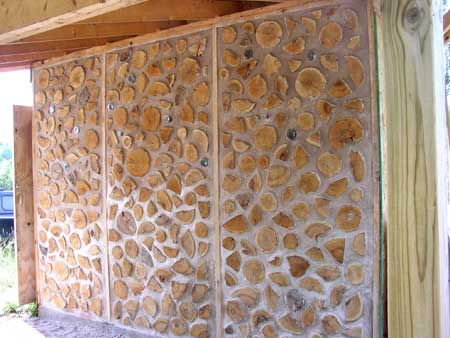
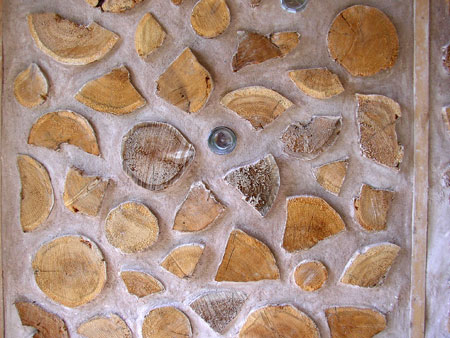
Finally, done with the first panel:
